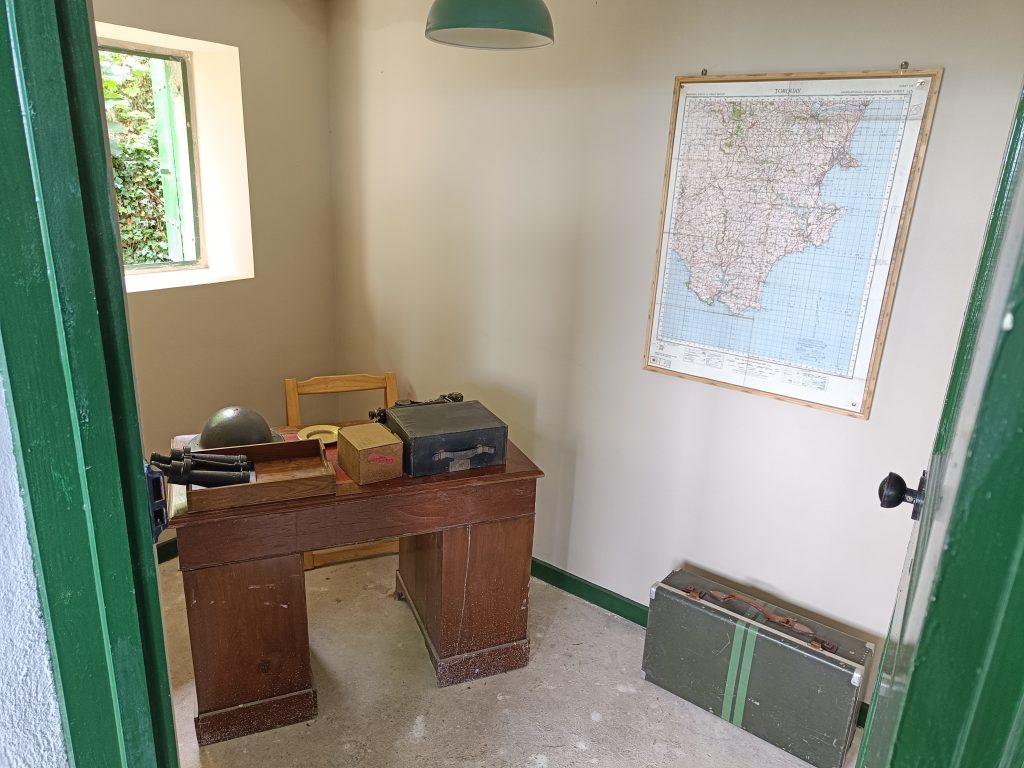
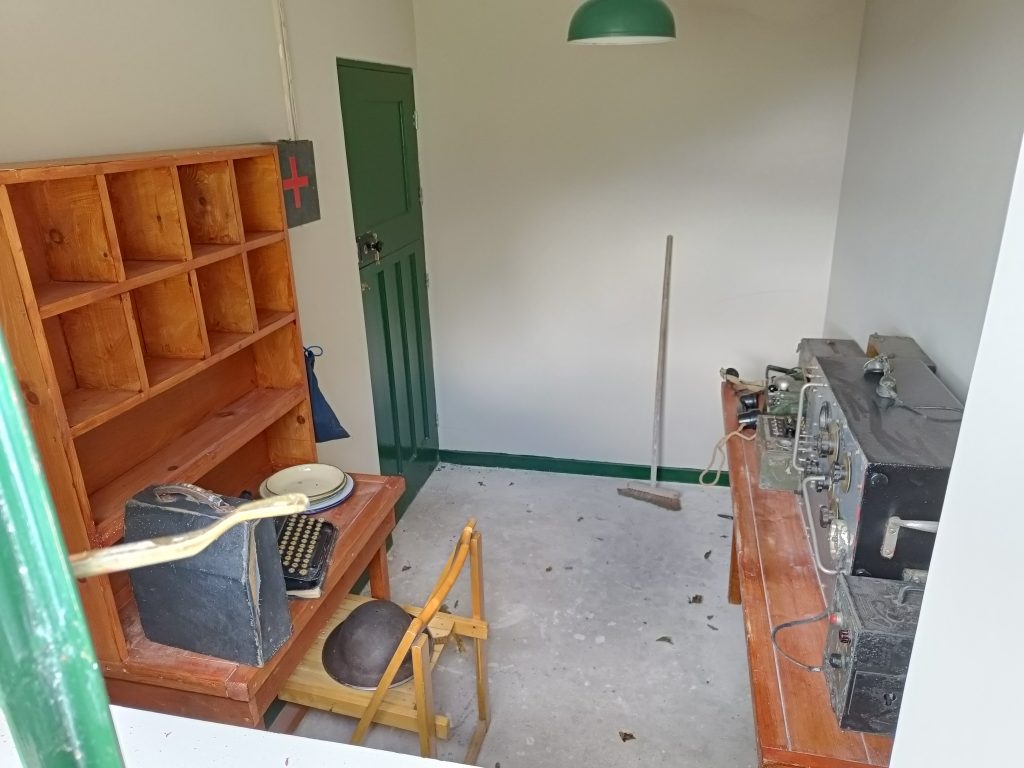
Battery Observation Post (BOP)
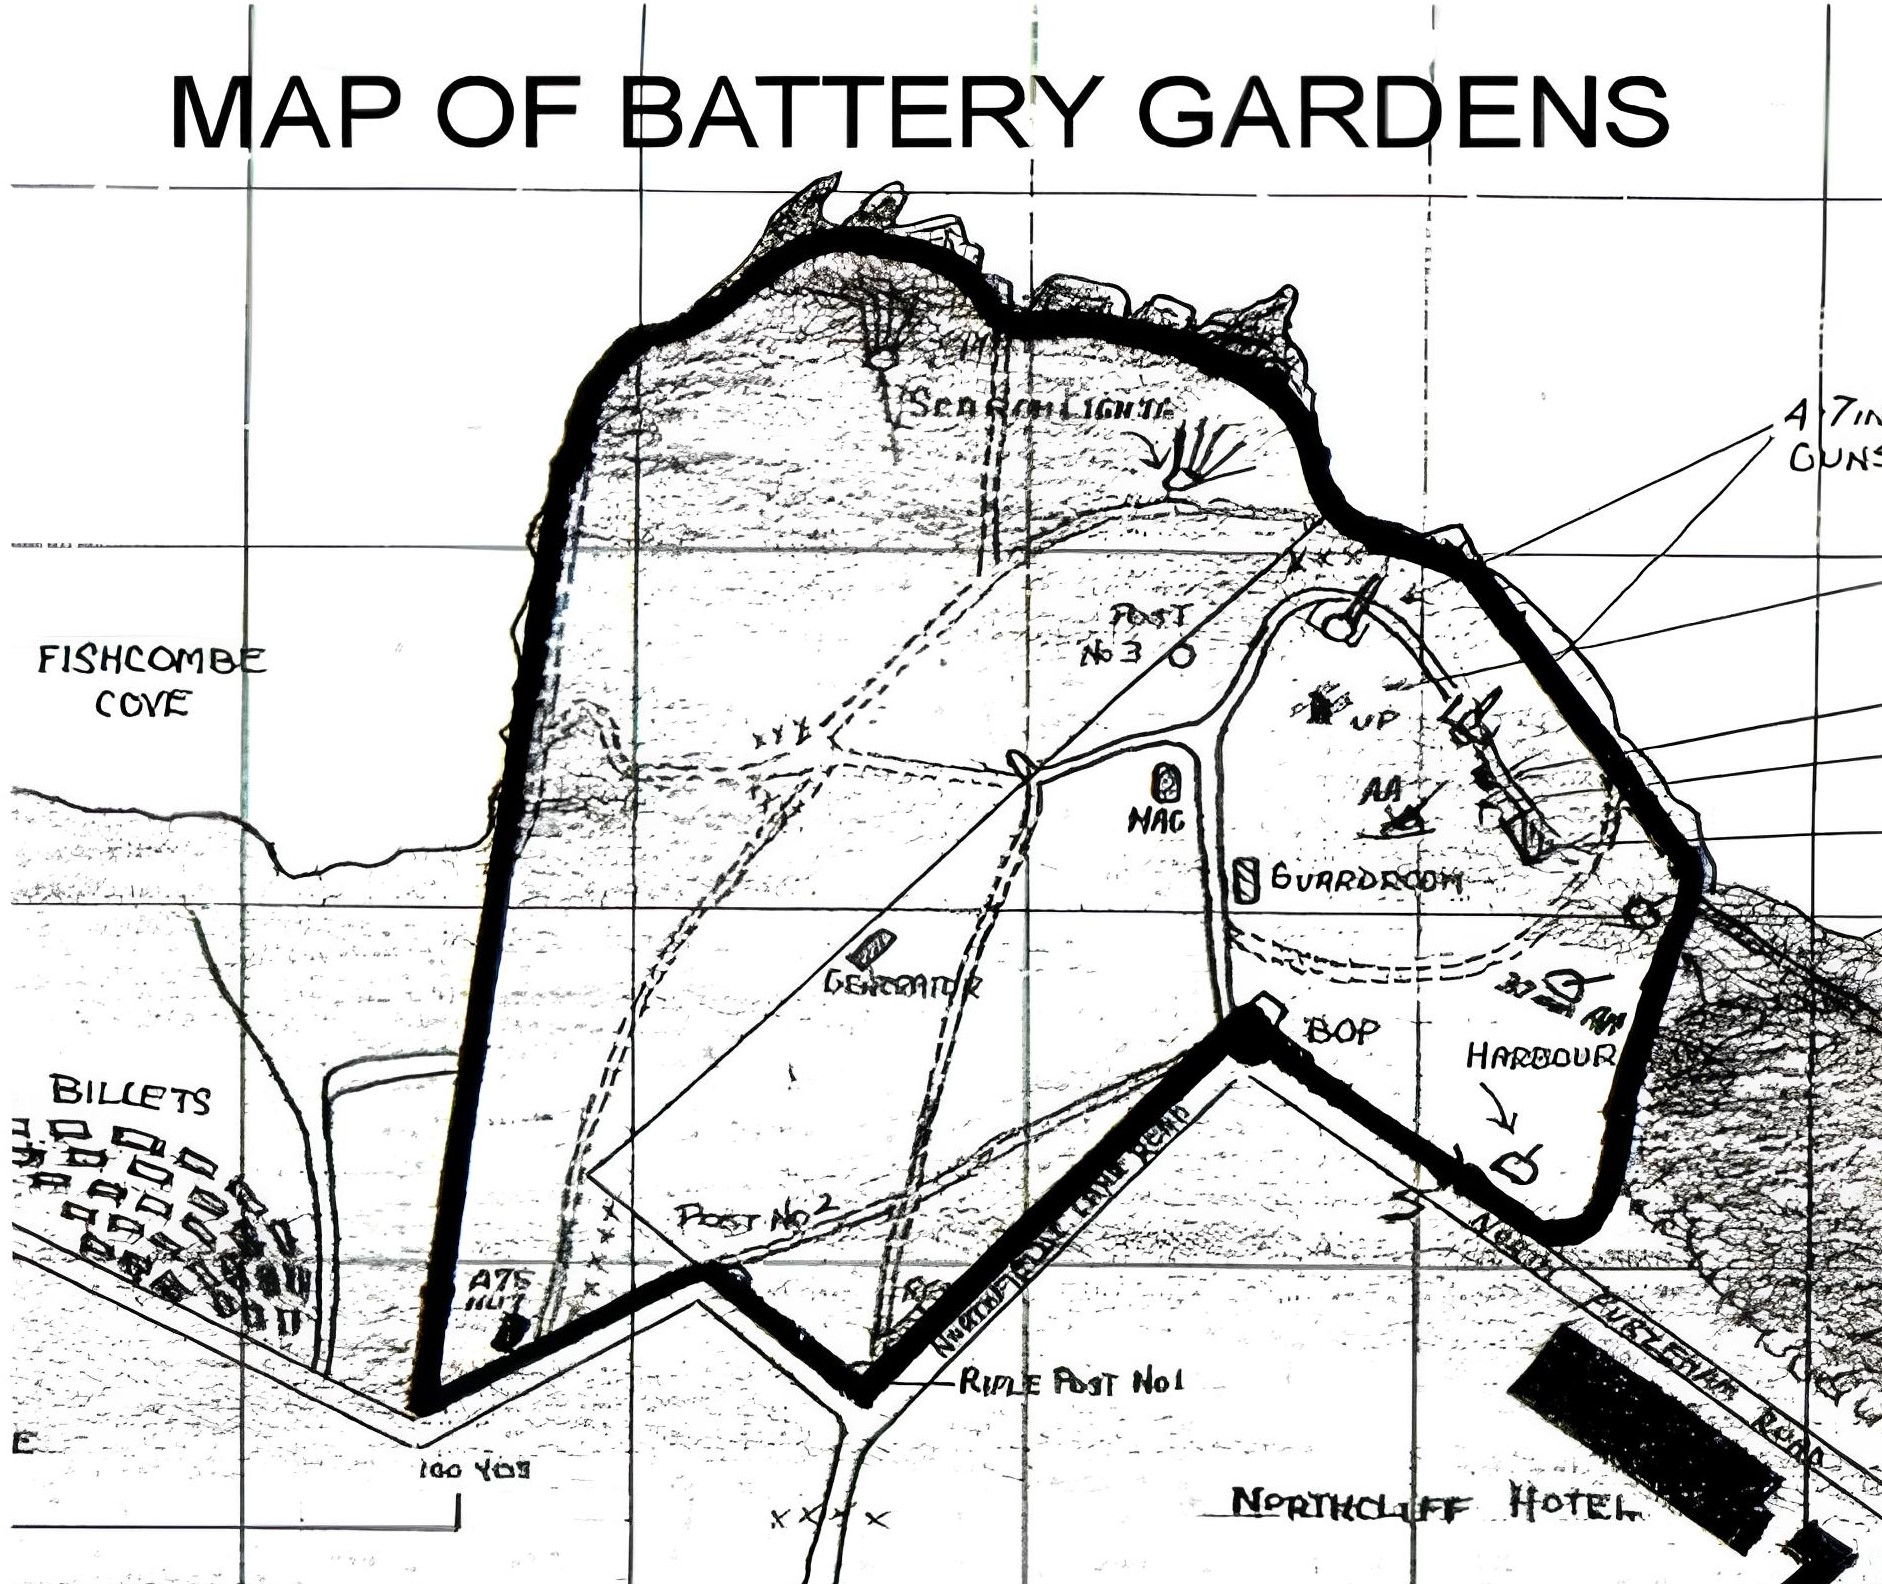
The first building encountered when entering the grounds from the main road, just to the right of the main gate, is the Battery Observation Post. This was the nerve centre for the Battery. It consisted of a twin storey building with a wide operational field of view, and contained all the equipment used to control the battery when in action or alert. The compliment of five, including the Battery Commander, operated the high precision range finders housed in the upper story and maintained communications with the gun and searchlight emplacements. A large and very accurate Barr & Stroud range finder was housed in the lower part of the building. The post was in communication with the guns and searchlight emplacements by phone and loudspeaker; signal indicator lights could also be used to convey certain instructions.
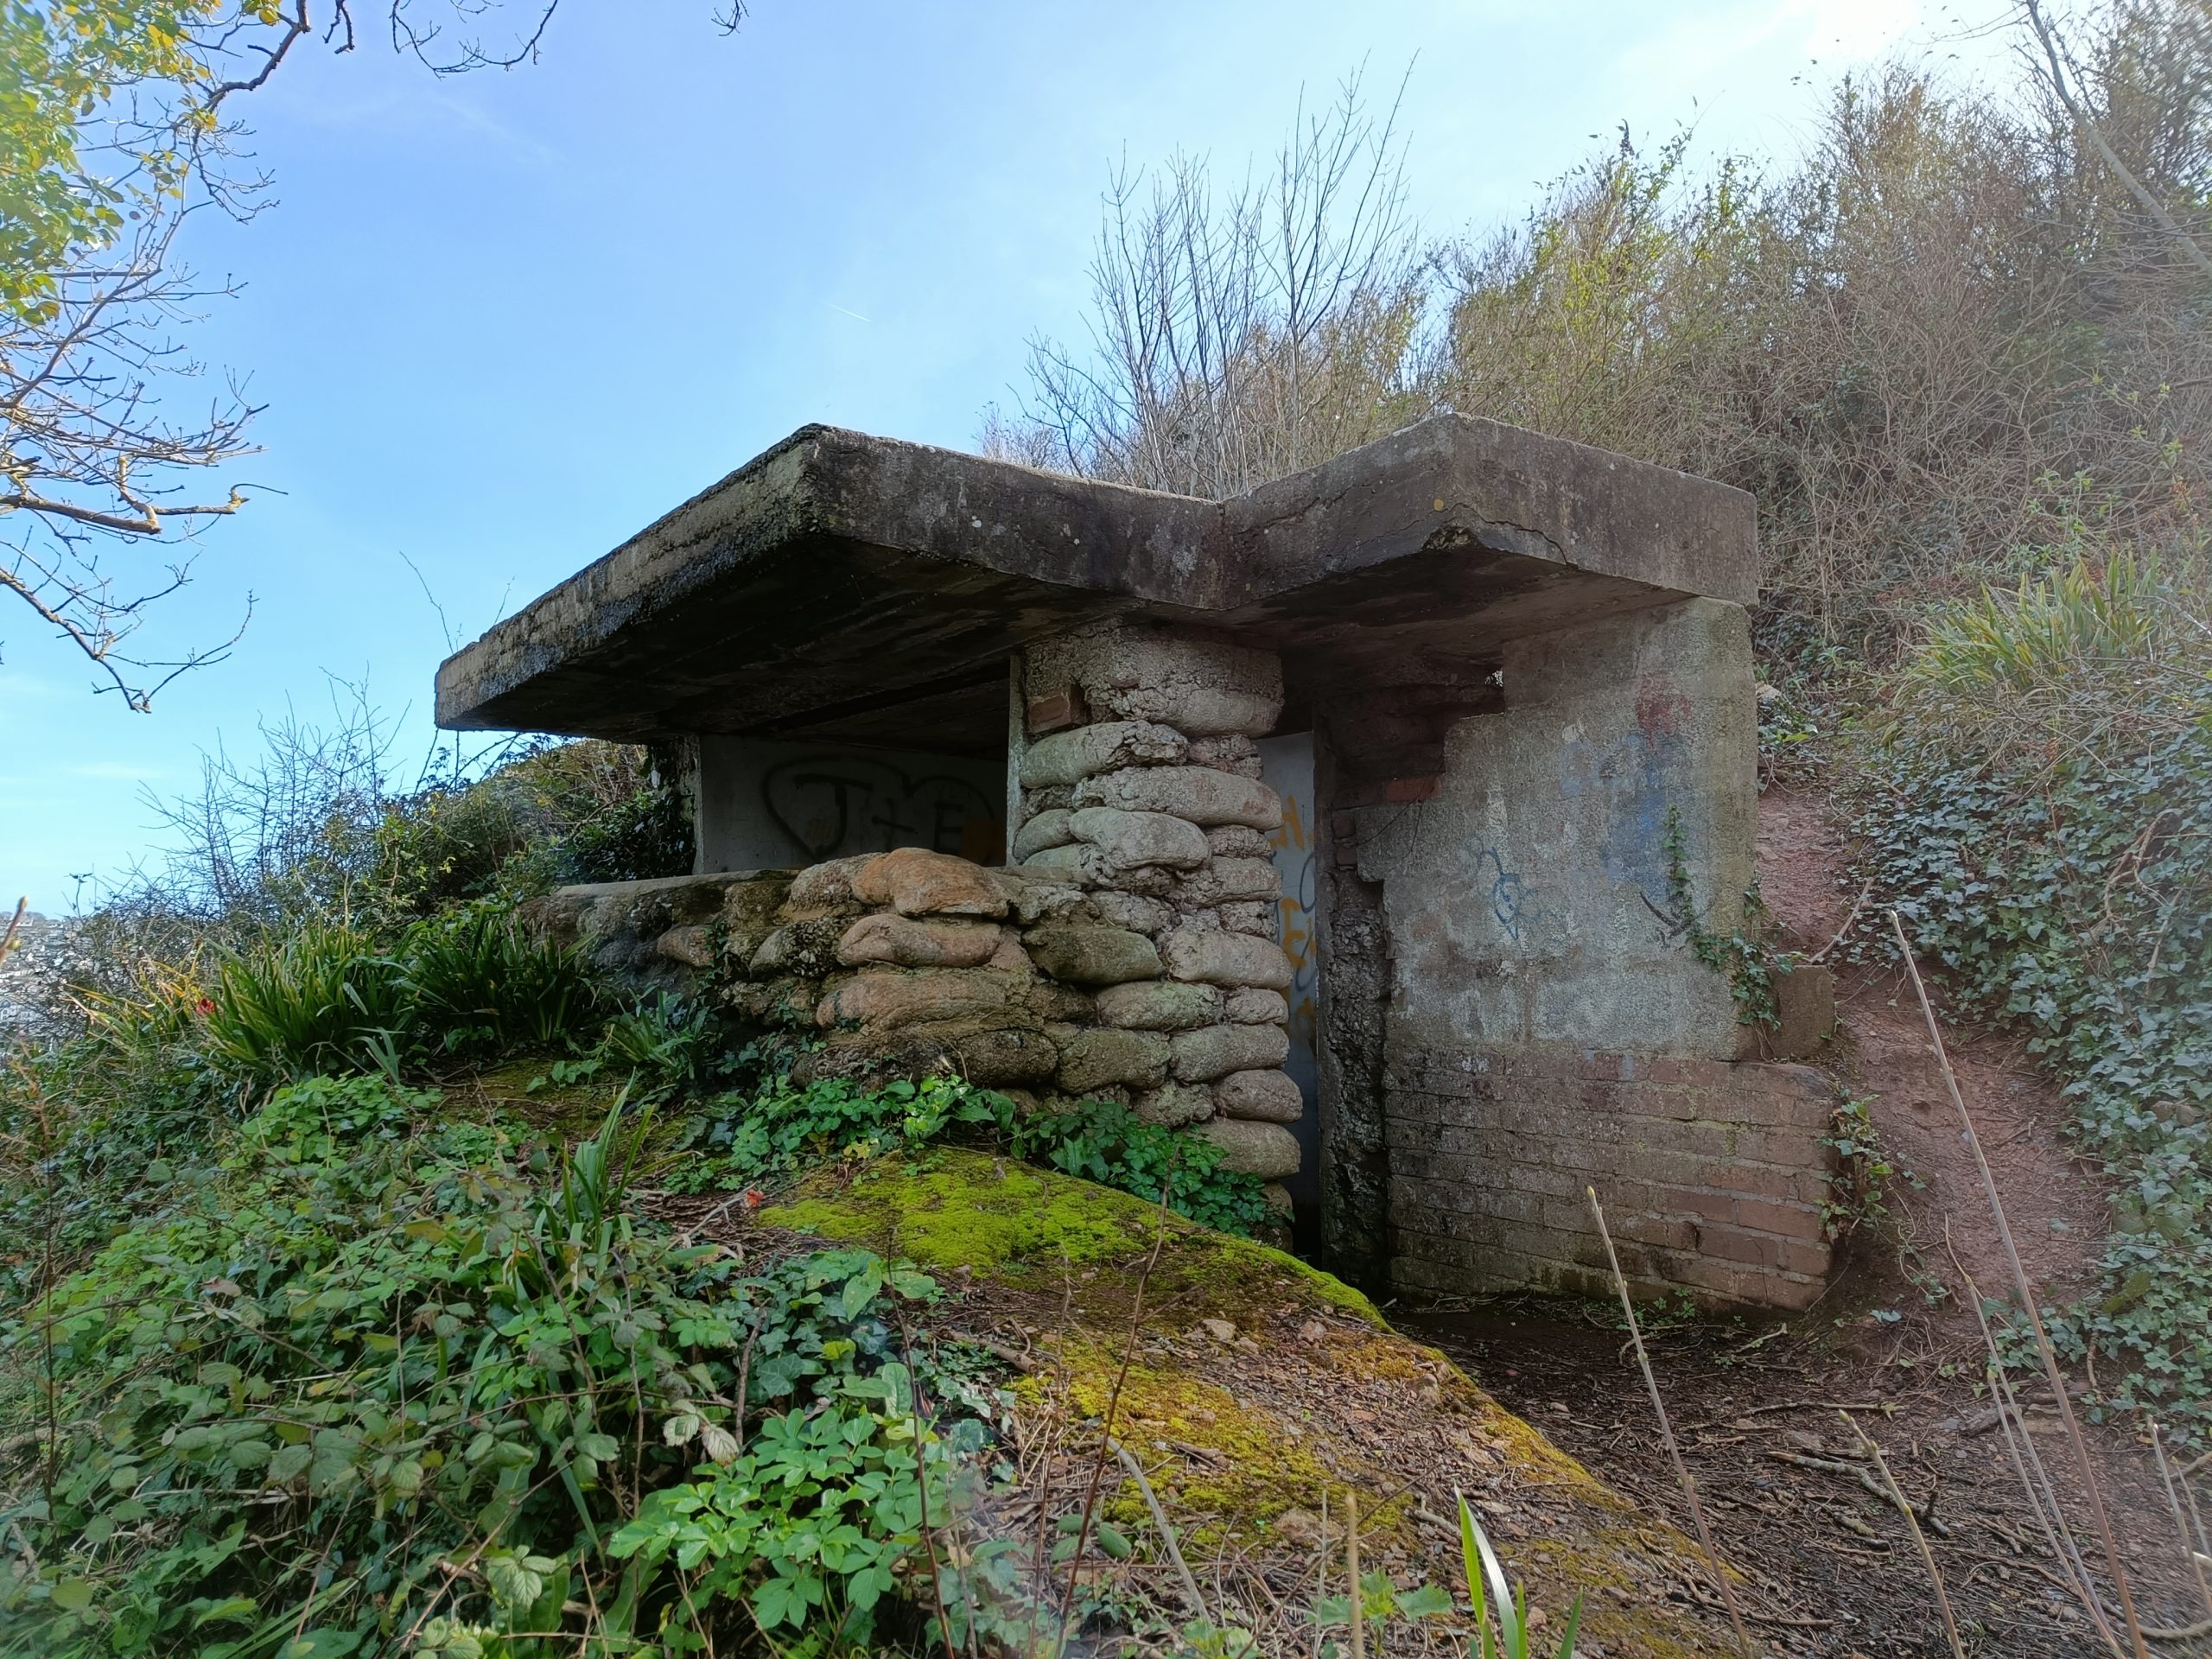
Emergency B.O.P
Just on the harbour-side of the B.O.P, at the top of the quarry, is a pillbox which is on record as being the Emergency B.O.P.
Located within a short dash of the main B.O.P, this would have probably been used as an emergency should the main B.O.P be taken out. This could also have been earmarked as an extra gun position.
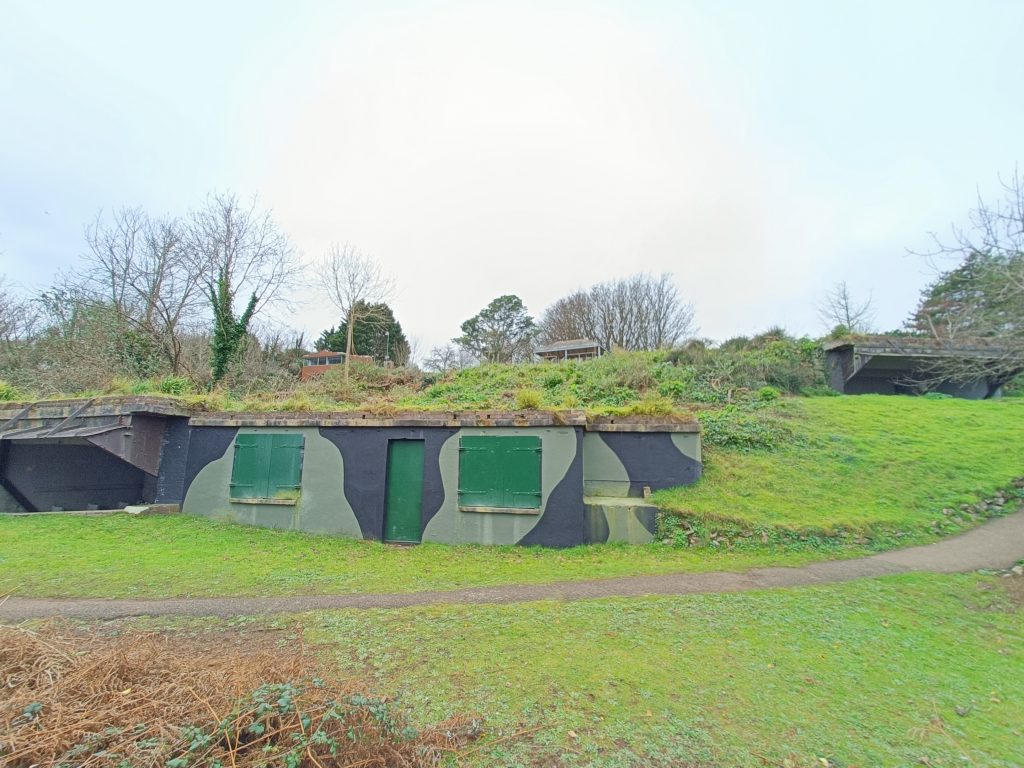
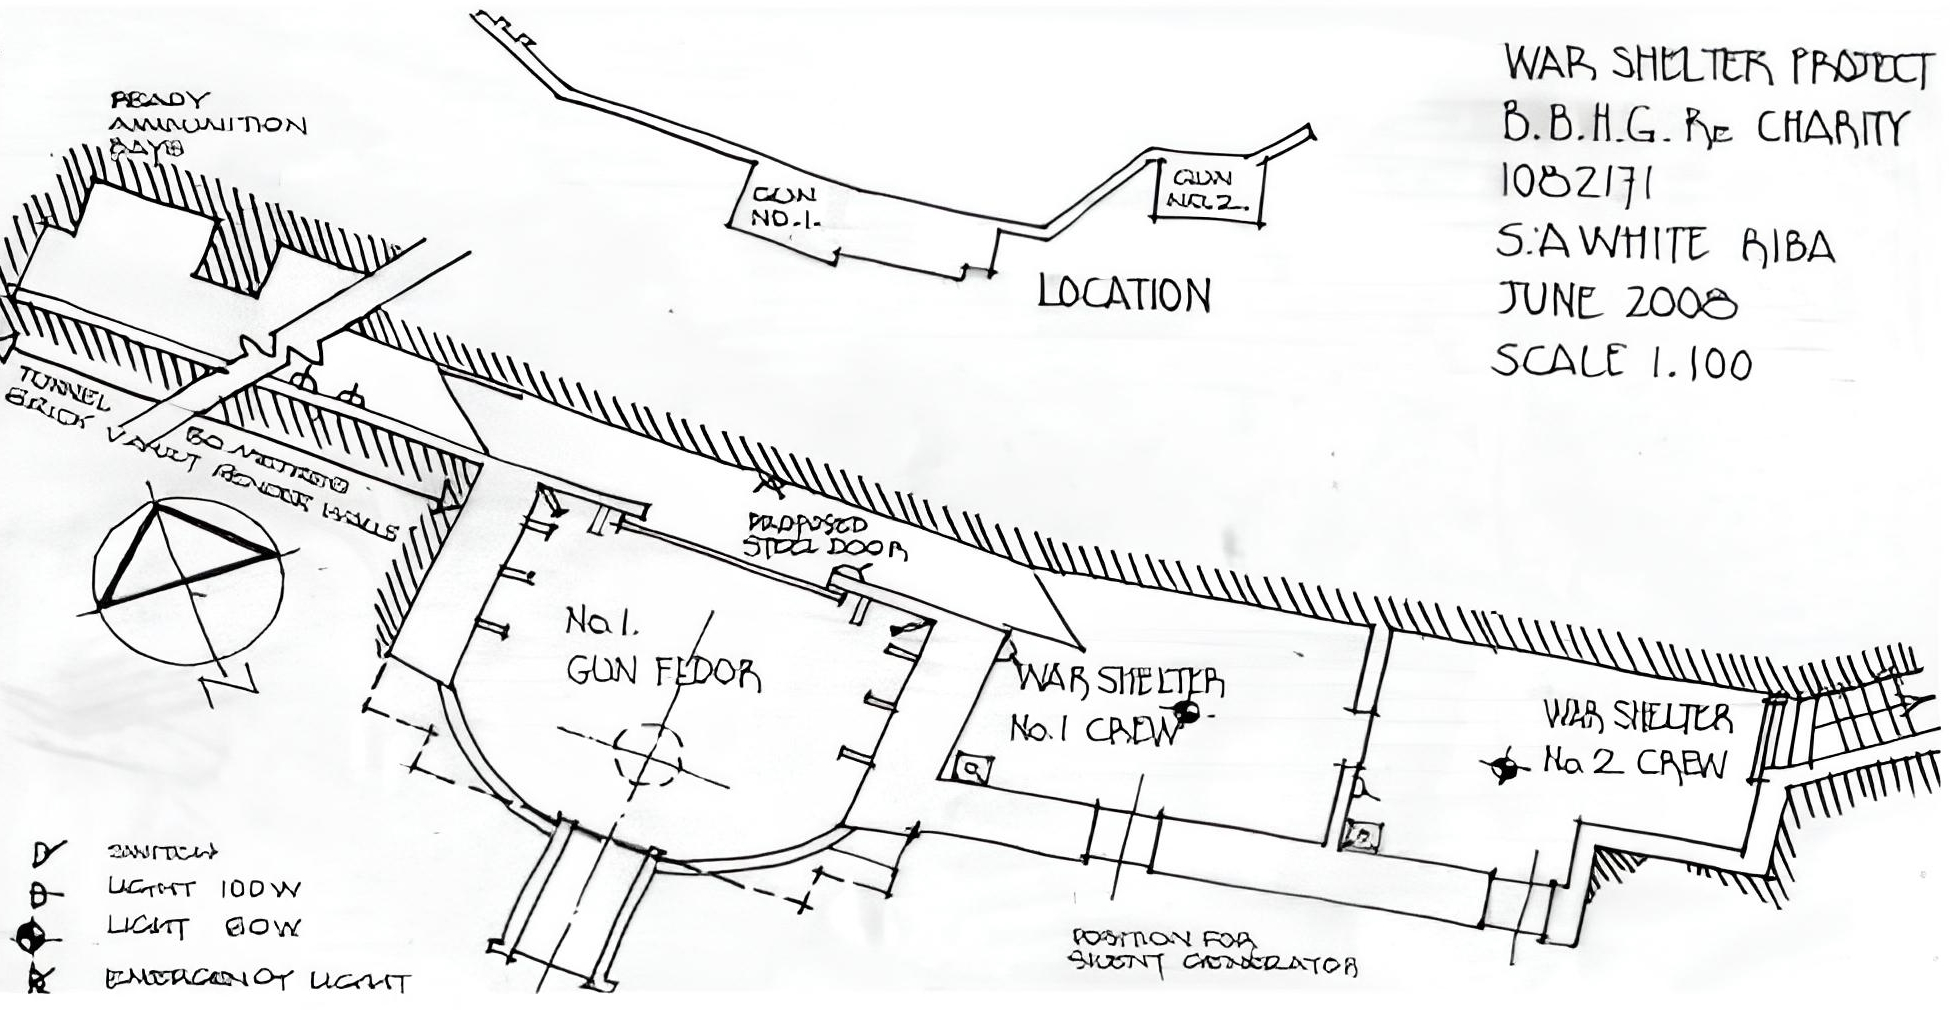
No.1 & No.2 Gun Floors
In the event of the Battery having to go into action for any reason, alarm bells would be sounded all over the site. All personnel involved with the gun floor activities would run from the War Shelter via their respective routes. All personnel doing this would shout “Alarm!” on the way.
The gun crew of No.1 Gun Floor would leave the War Shelter and proceed to the gun floor via the entrance to the rear. No.1 Gun Floor was situated to the right hand side of the War Shelter. The crew for No.2 Gun Floor would leave through the door on the left.
Each gun was a 4.7 inch Mark V naval gun. Although not adopted for use in the Royal Navy, many were fitted for use in coastal artillery batteries and despite being fairly old by the time WW2 came around, they were still useful pieces of equipment (4.7 inch being a fairly standard calibre used in the Navy at the time)
Ammunition for the gun floors were kept in two seperate locations. For No.1 gun floor, there is a grass covered concrete construction just off the main path behind the gun floor which was the main magazine bunker. For the heavy shells it was probable that a small trolley was used.
For No.2 gun floor, the shells were stored in an underground tunnel just behind the gun itself. This was accessed from the War Shelter.

.
.
.
Panorama of both gun floors with War Shelter (centre) B.O.P (top left) and Altmark (top middle)
.
.
.
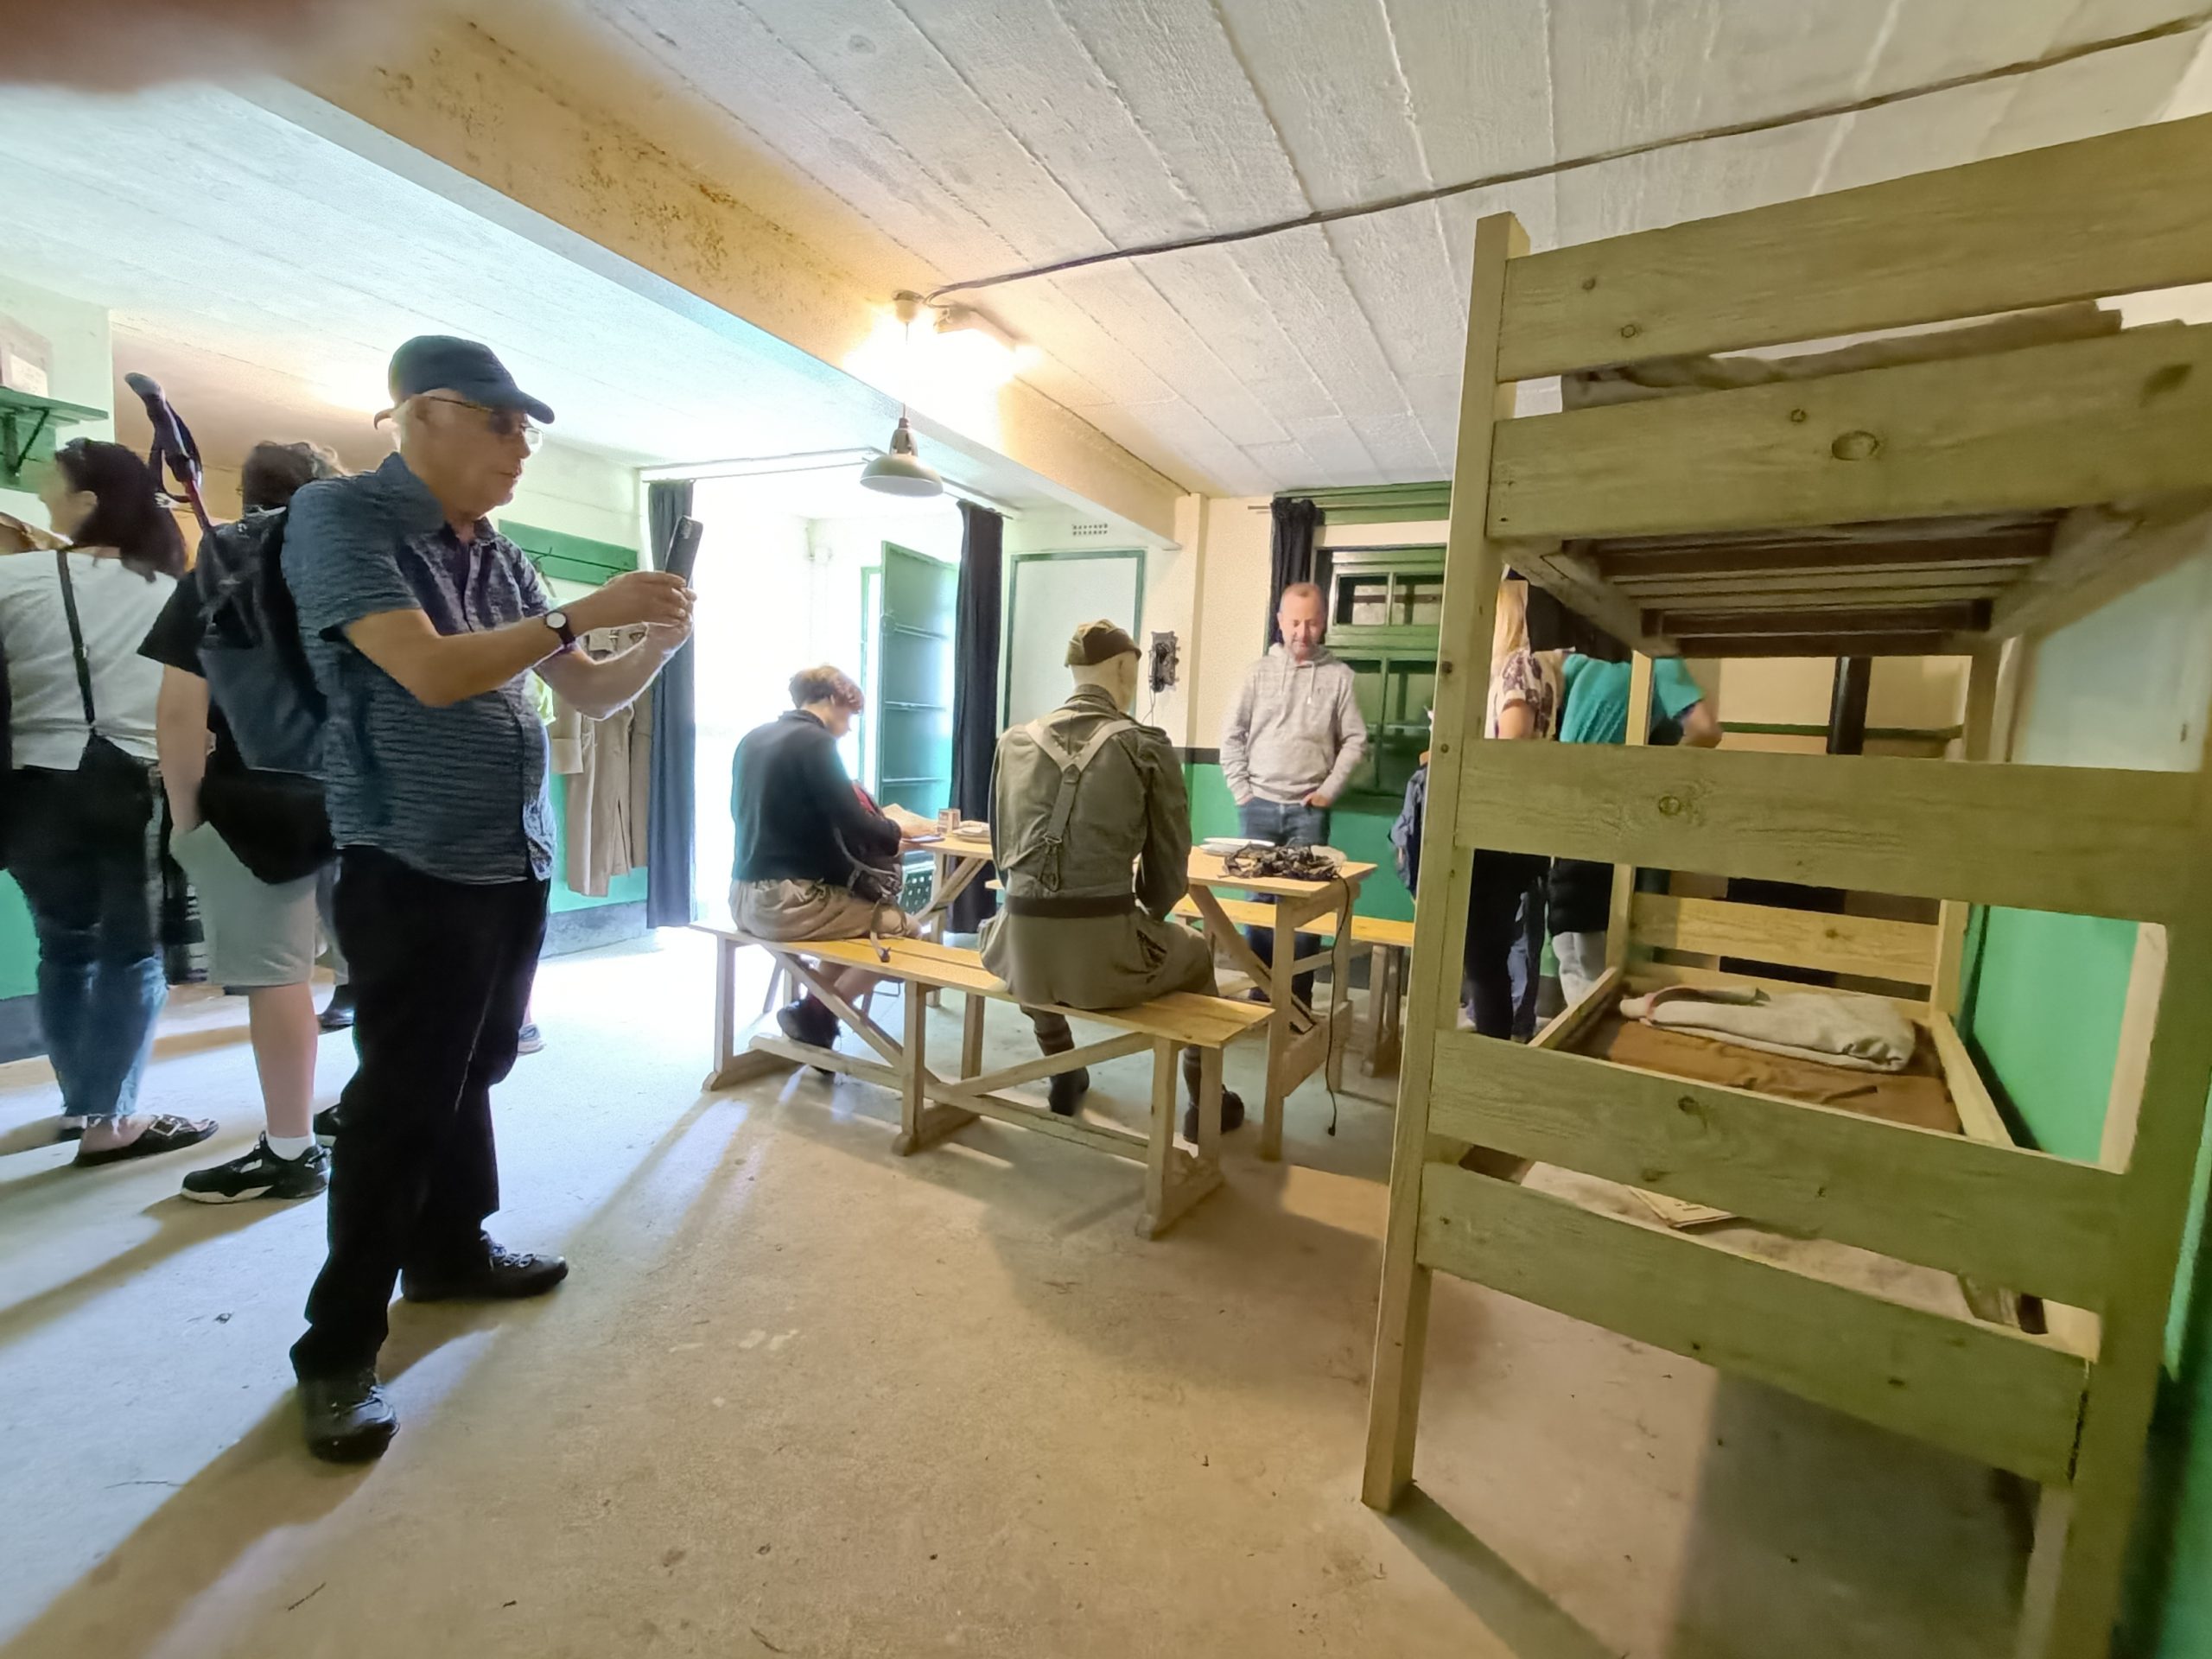
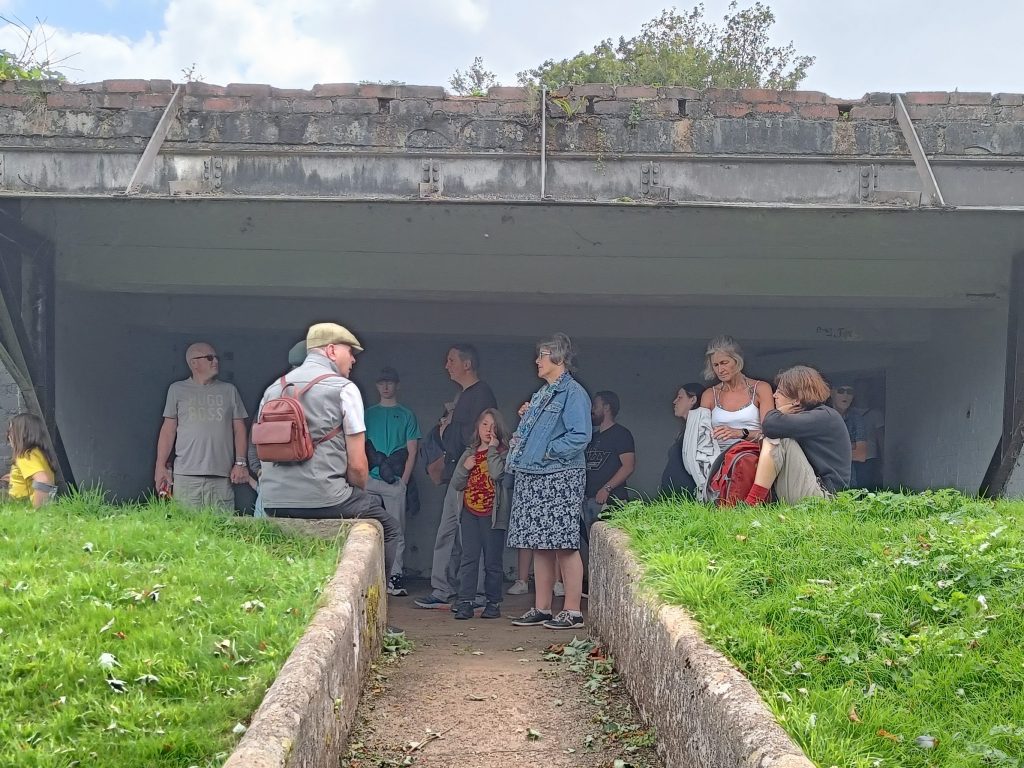
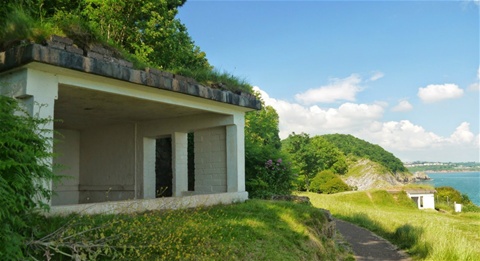
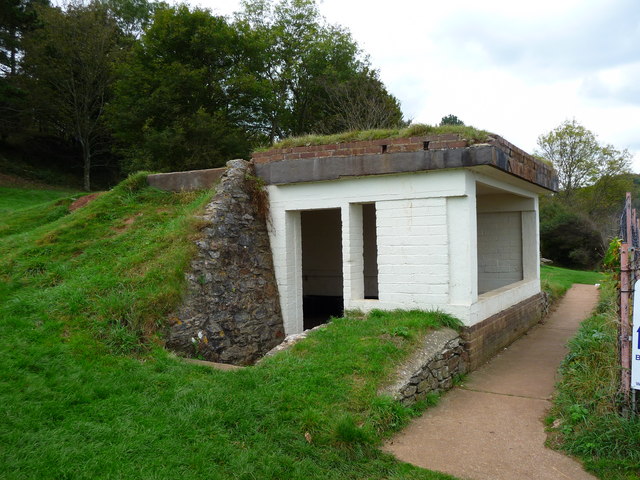
War Shelter
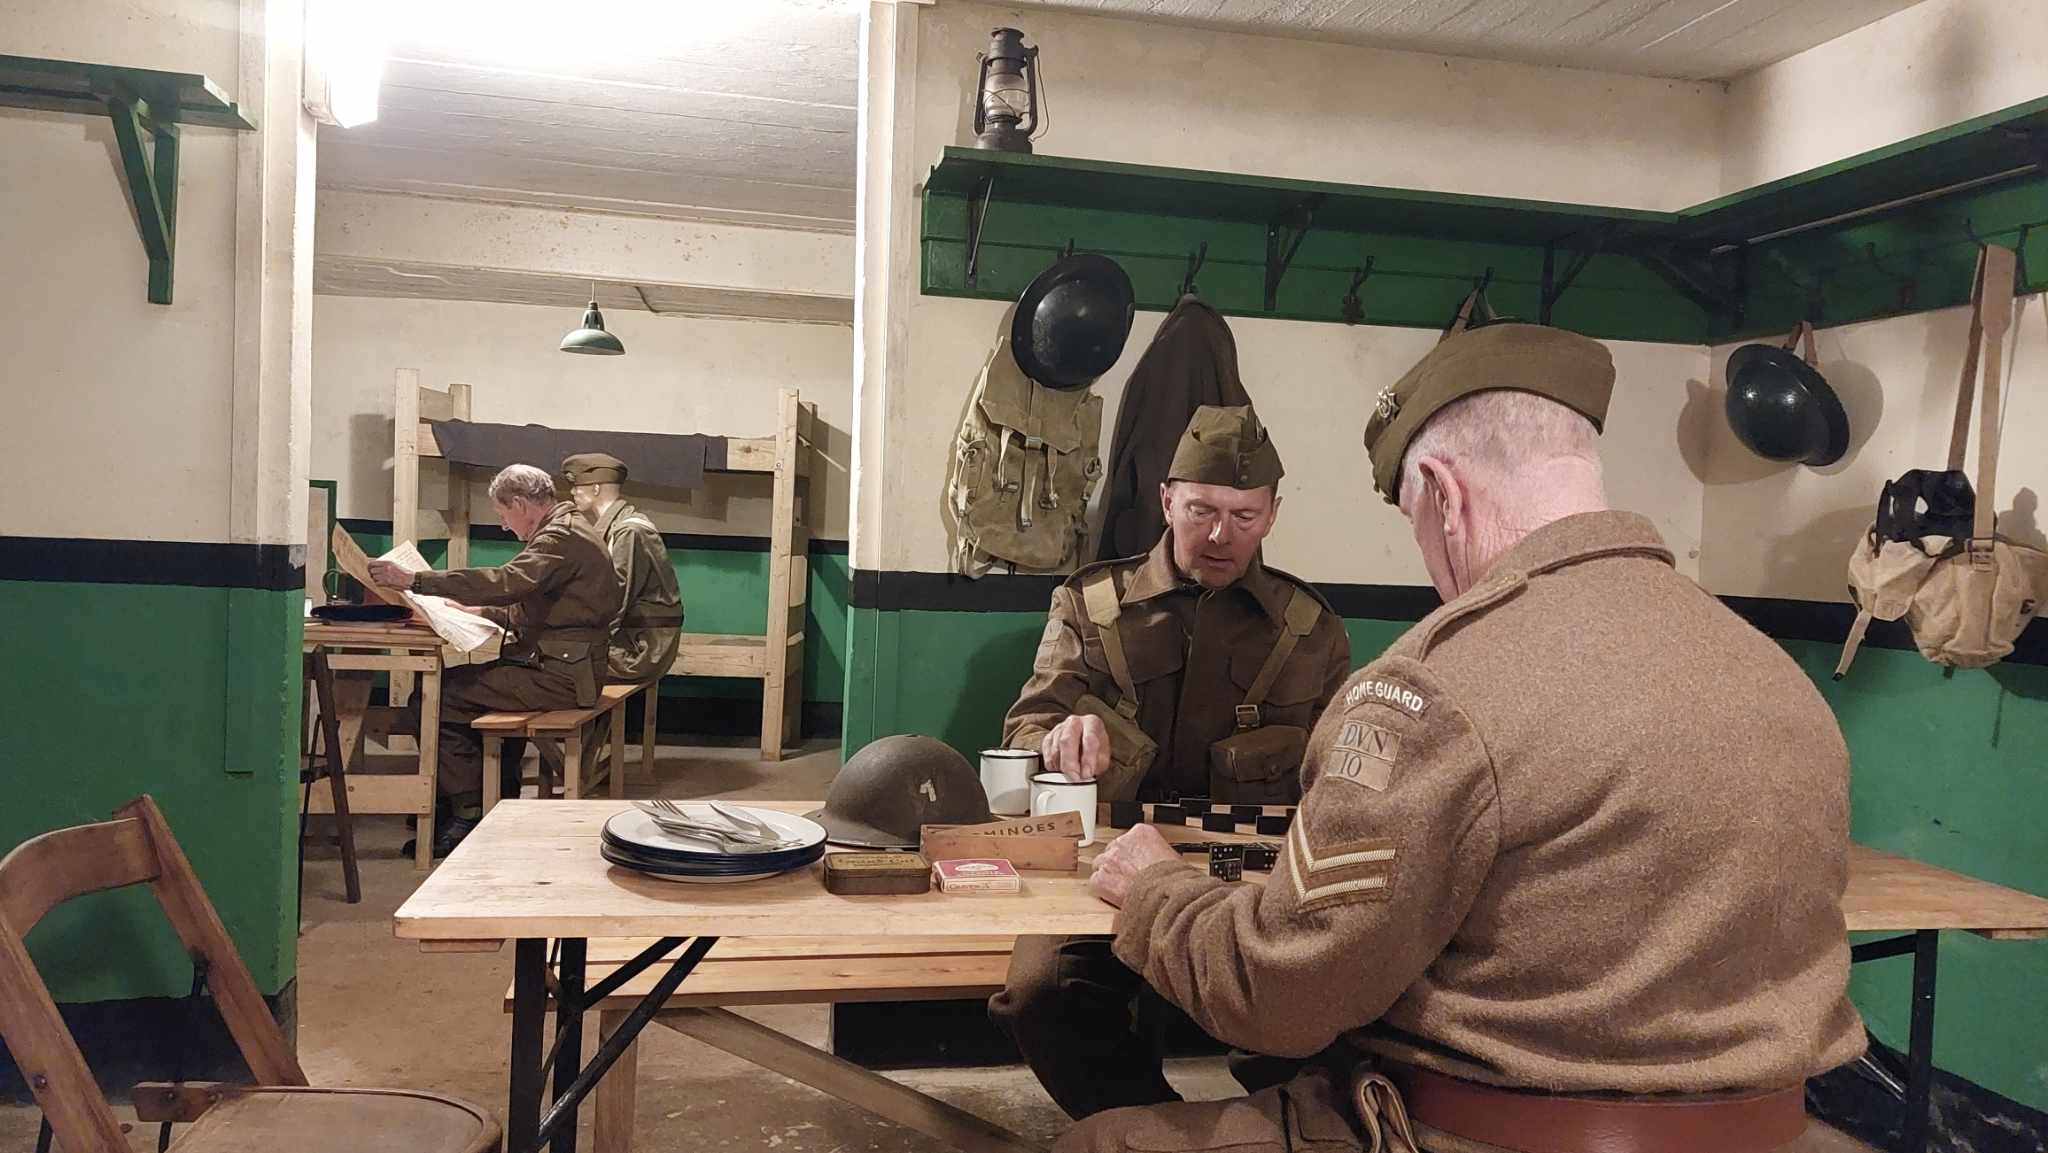
The War Shelter was the stand-to area for the gun crews which were on duty and who were ready for action at any time. This area was situated between the two gun floors and were readily accessible by tunnels.
The 14 man gun crews, plus perhaps a couple of ammunition carriers, were on duty at all times and at no time was there no one within or within close proximity of the War Shelter.
Meals and entertainment were always taken in the area. The shelter would have been equipped with beds, heating, storage and entertainment for the troops. The teams operating the guns were required to change their hobnail boots for soft soles shoes in order to prevent the risk of sparks!
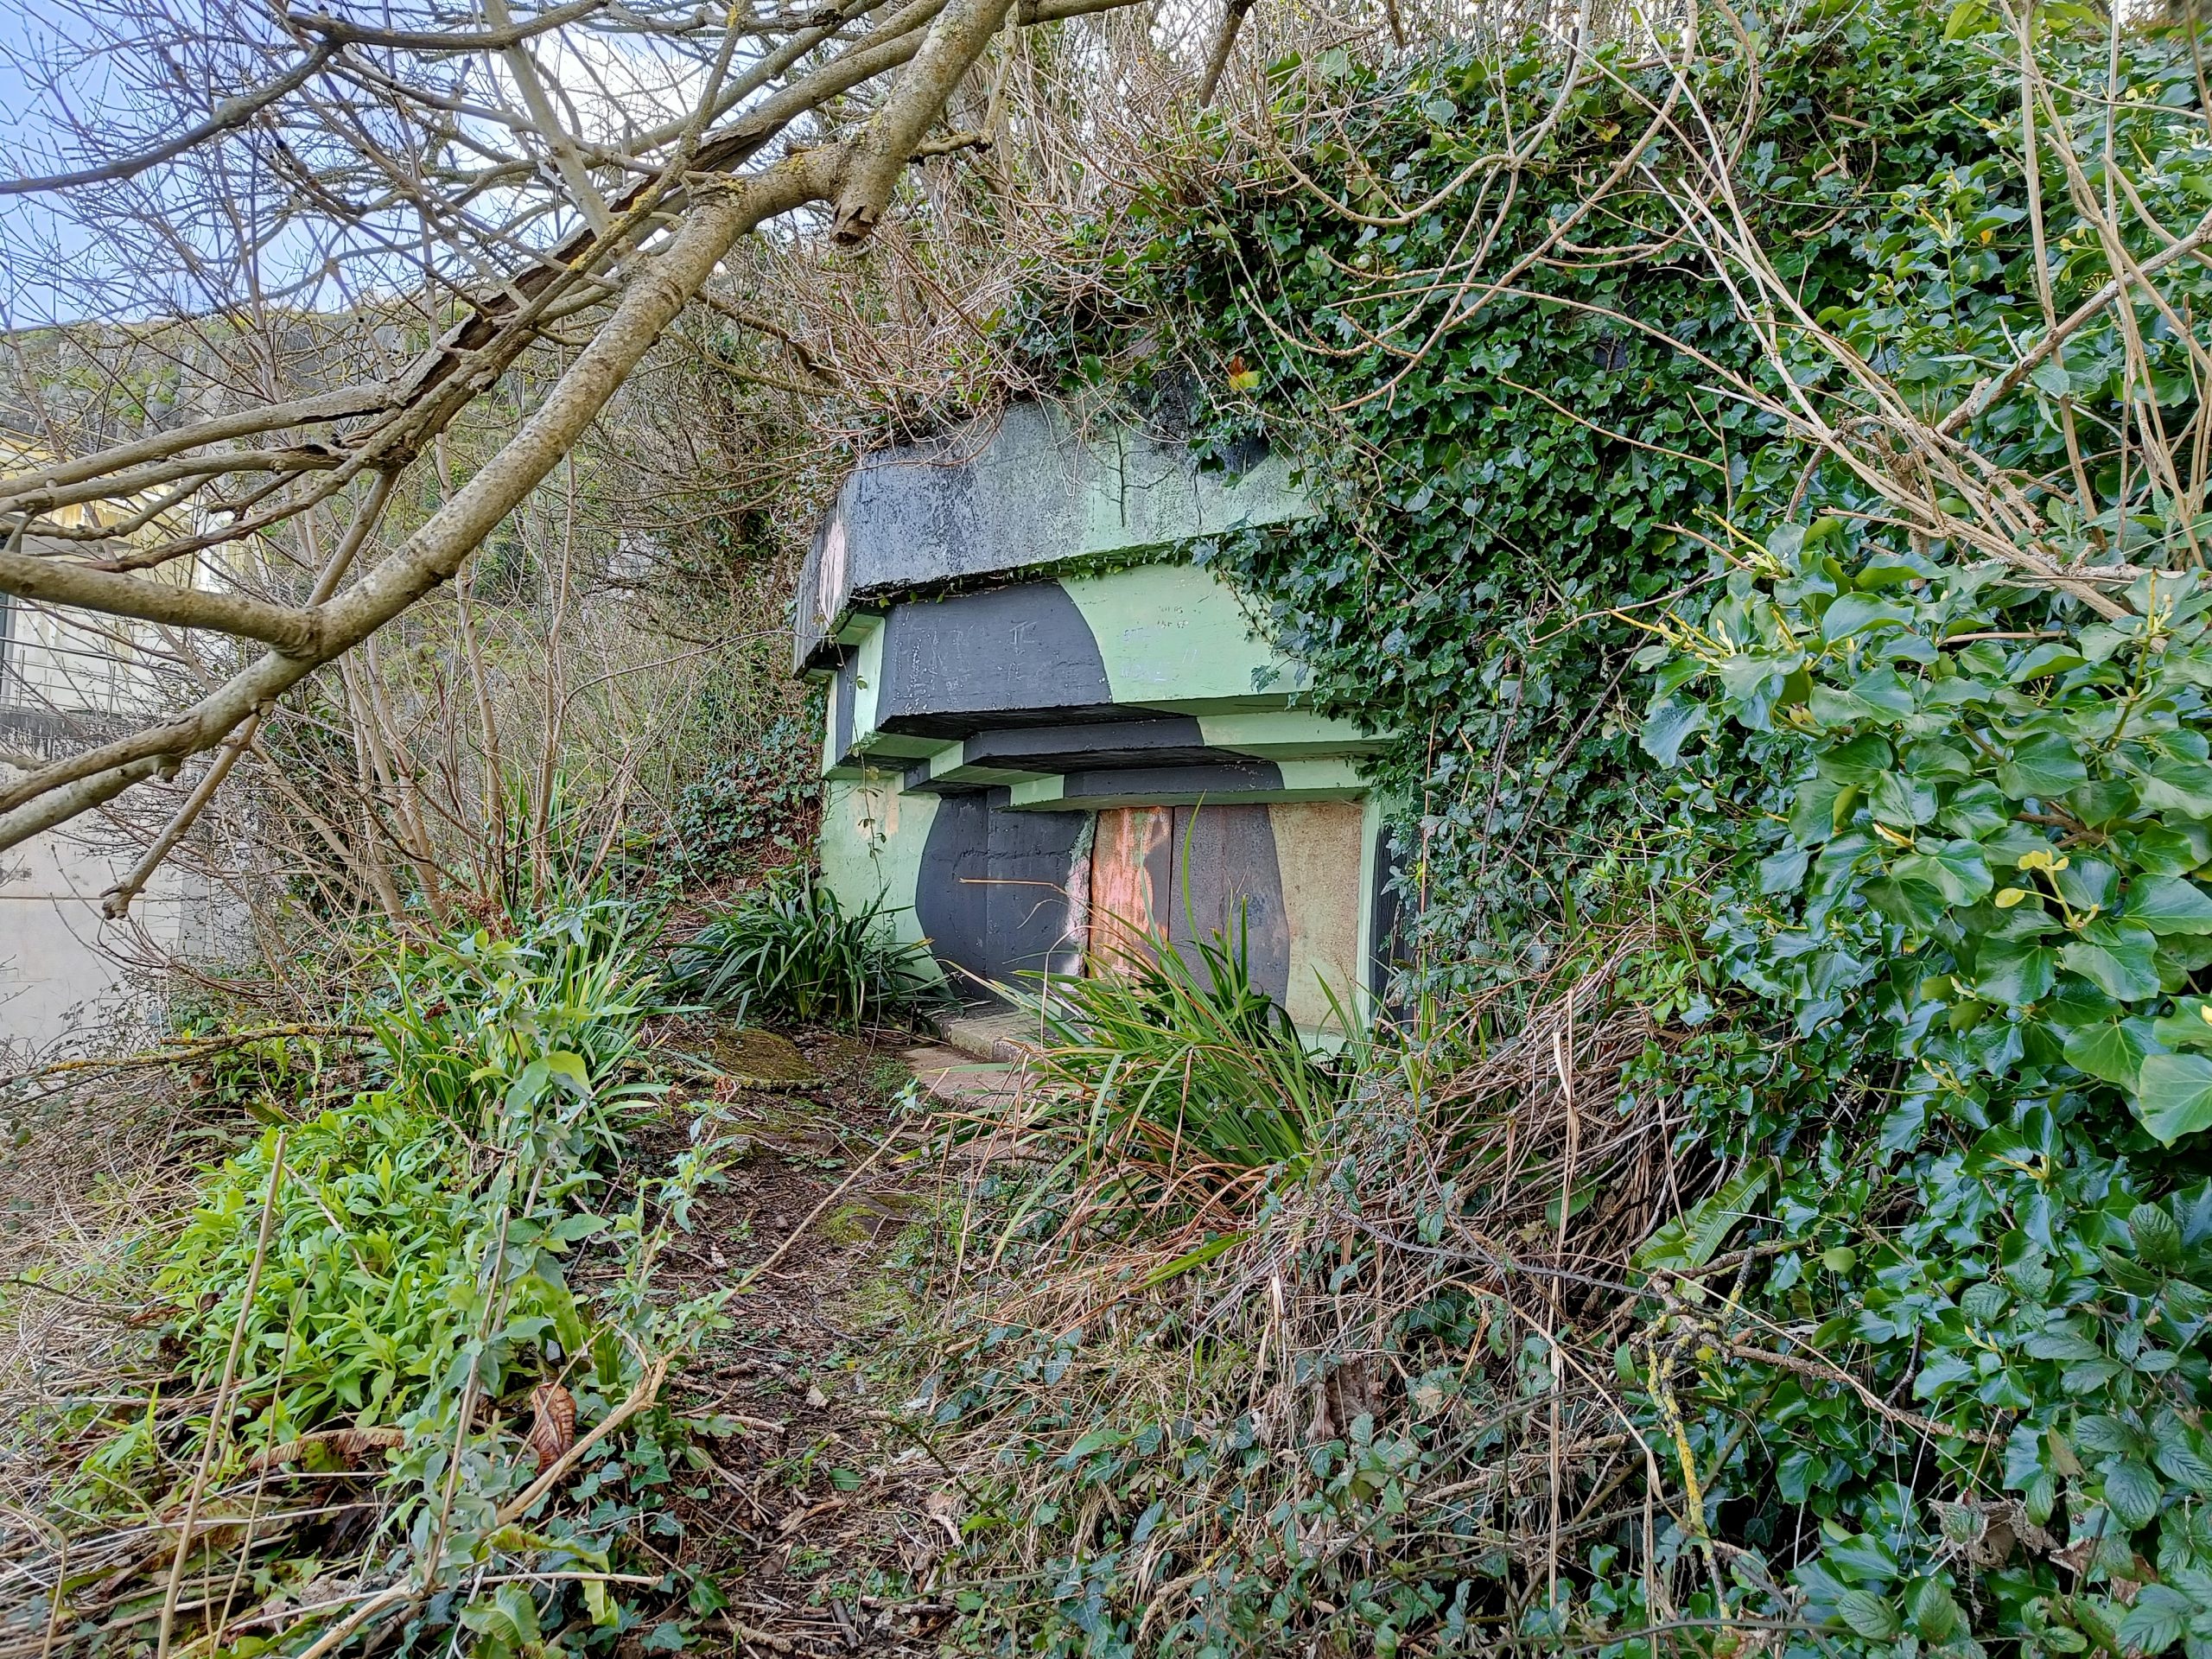
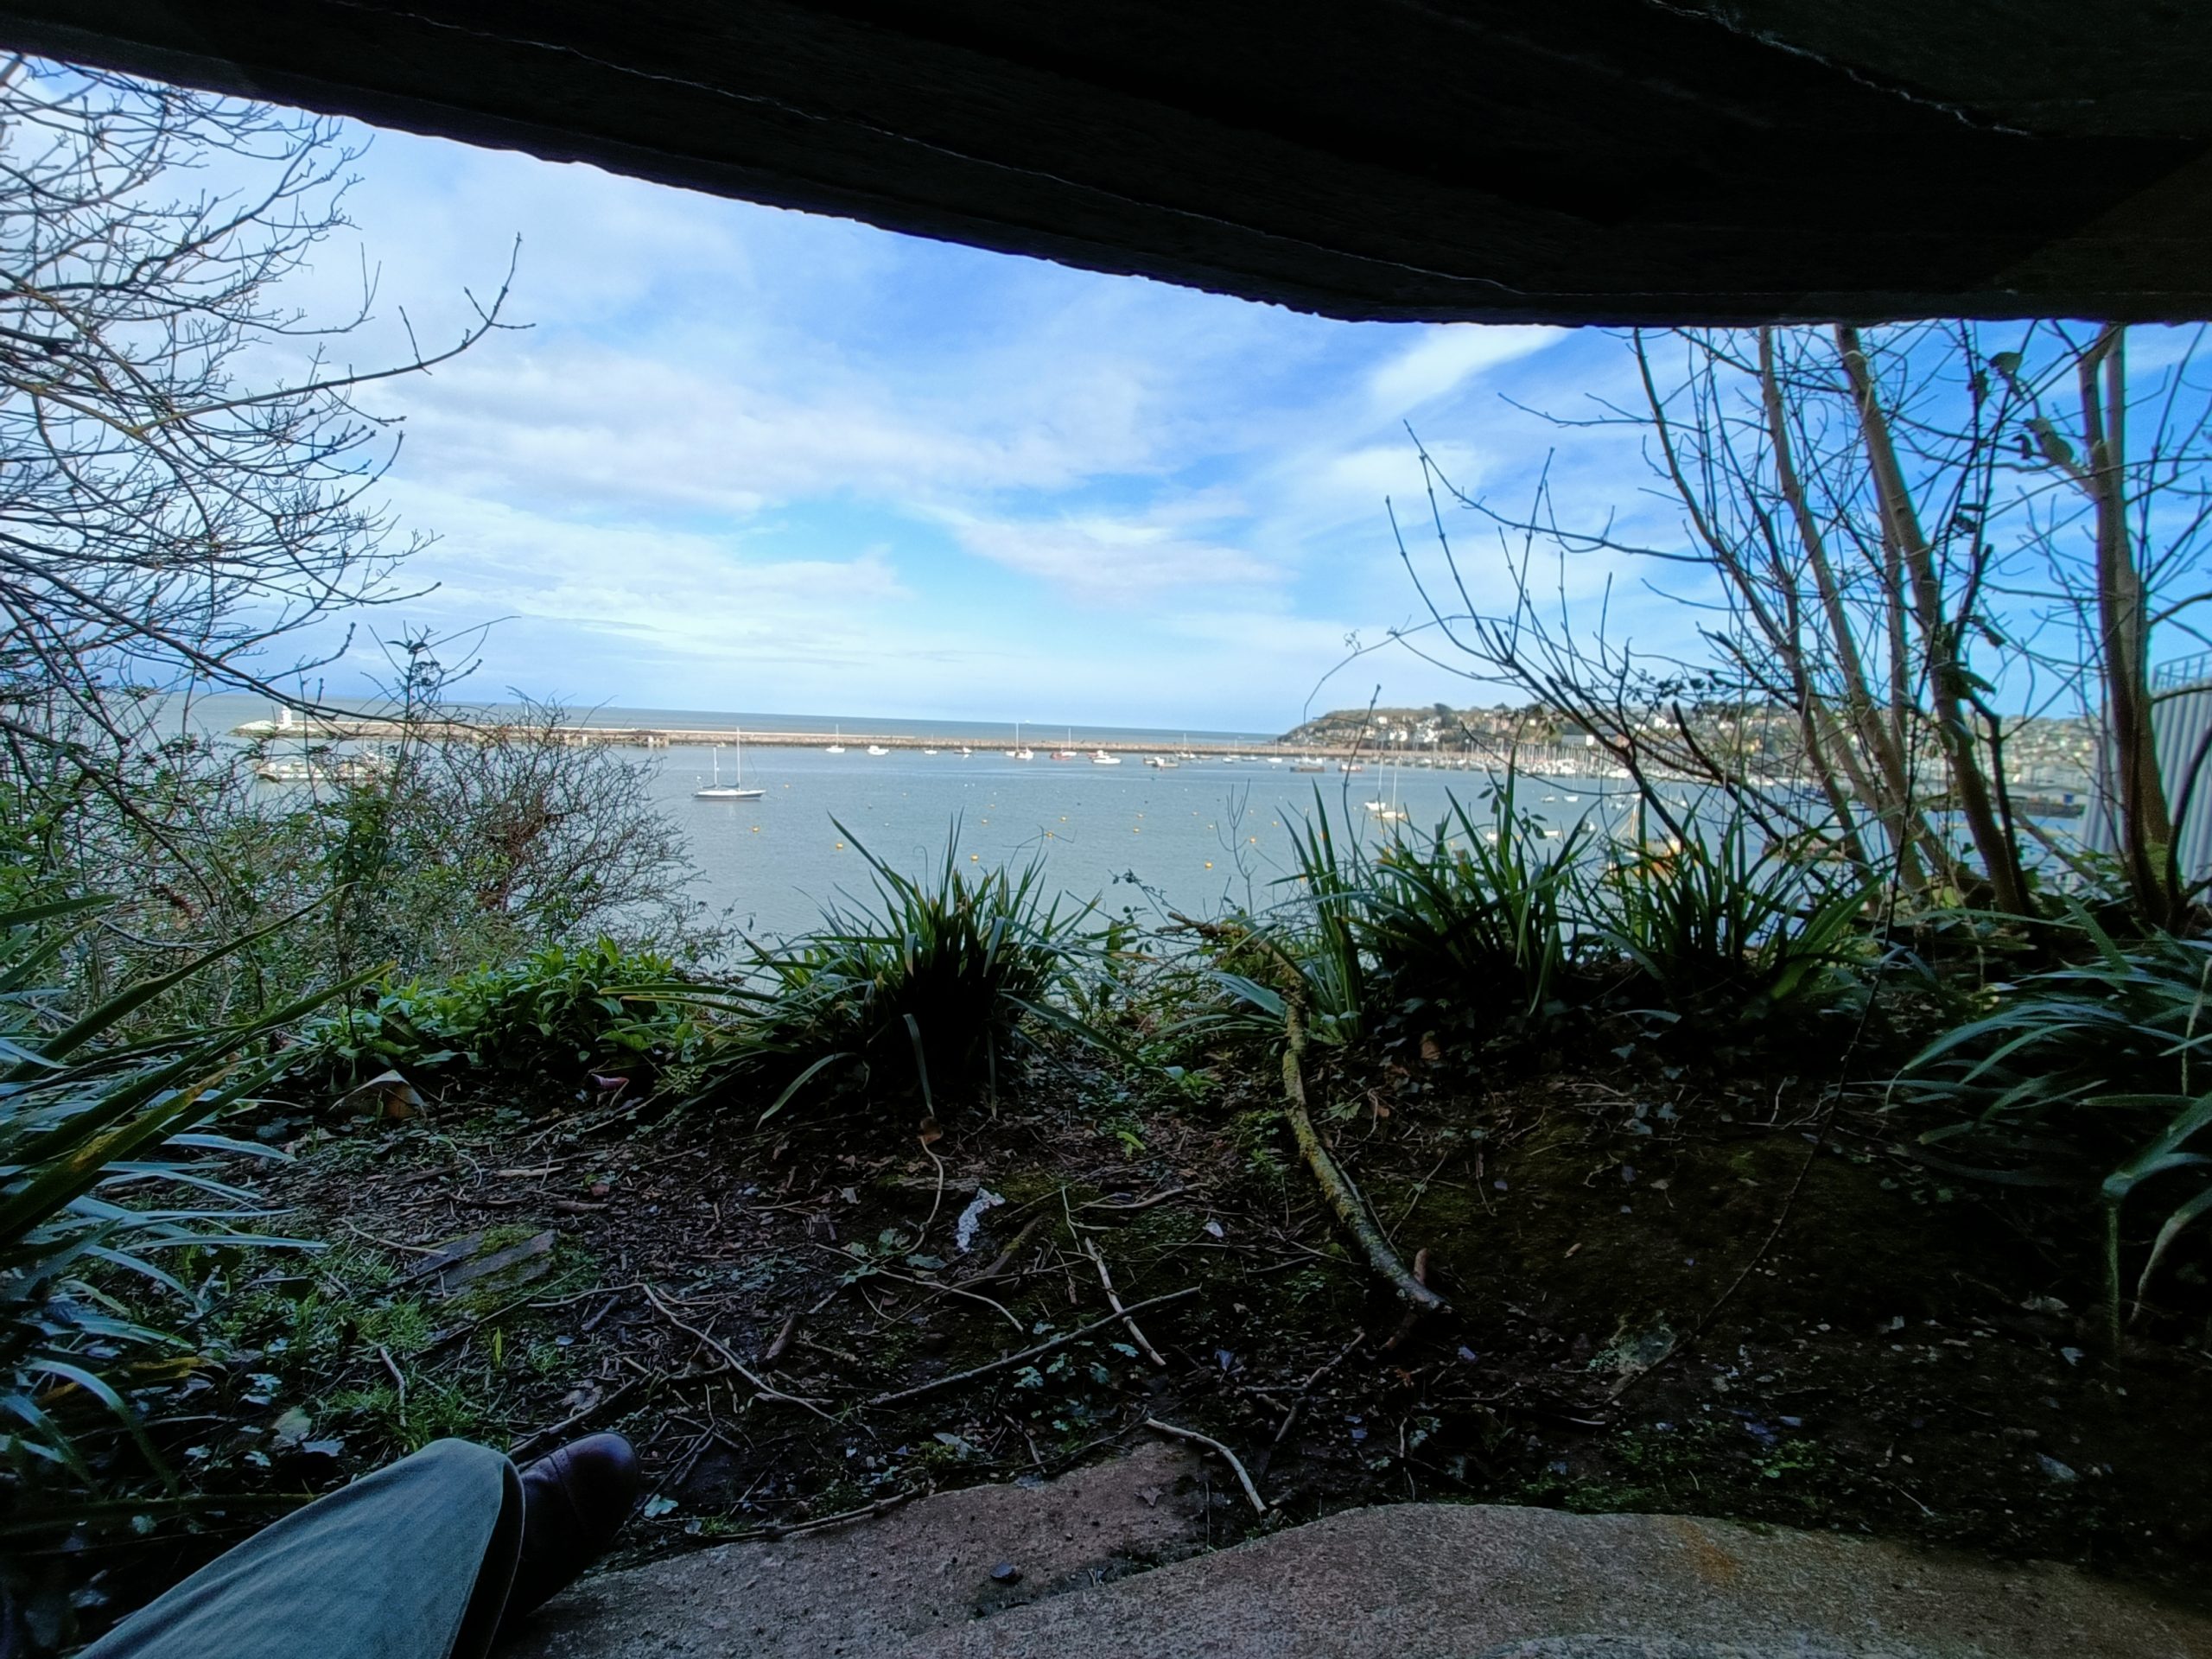
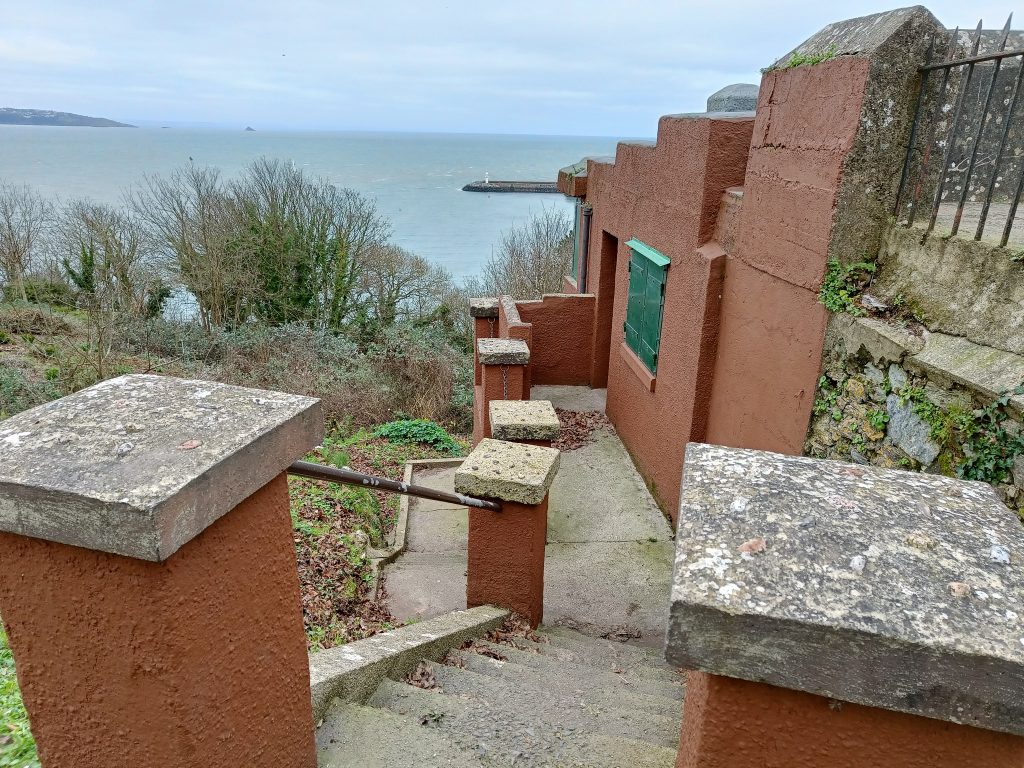
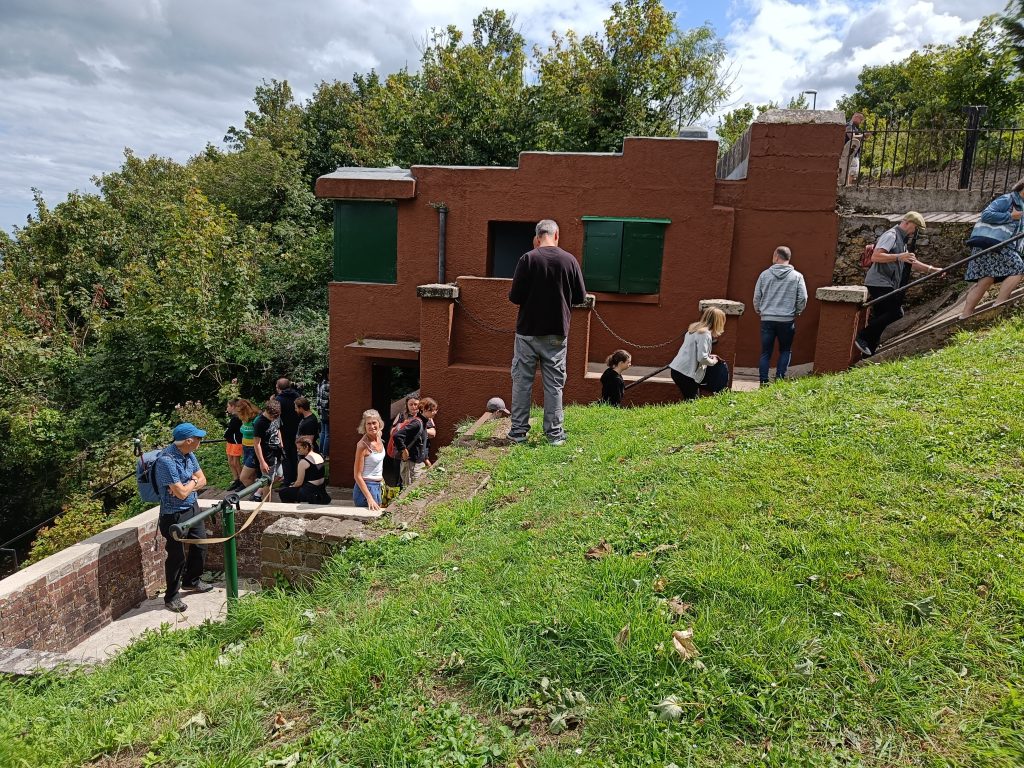
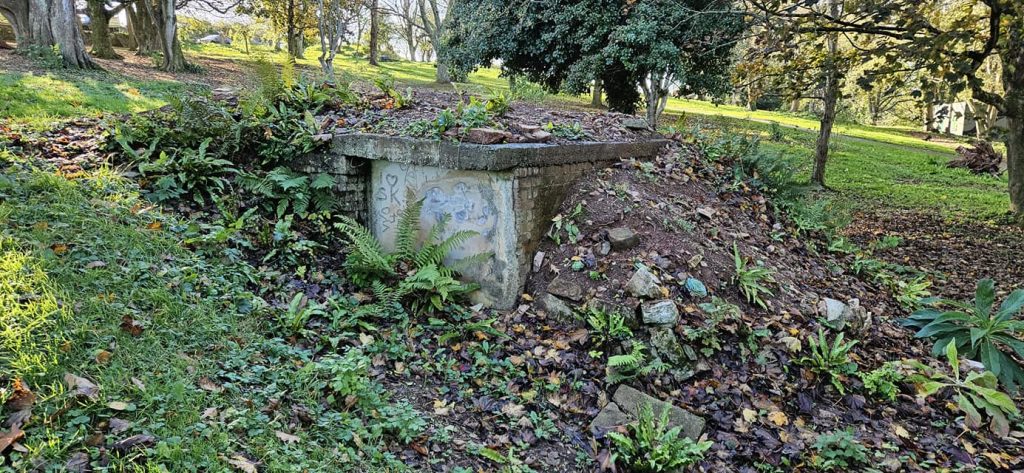
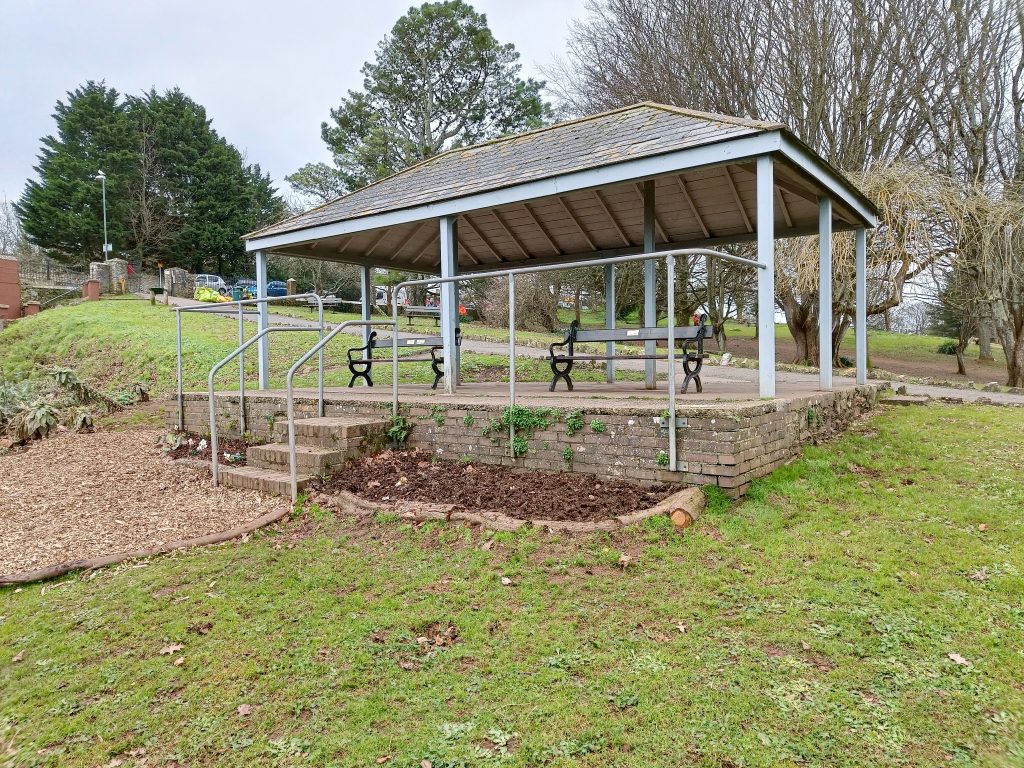
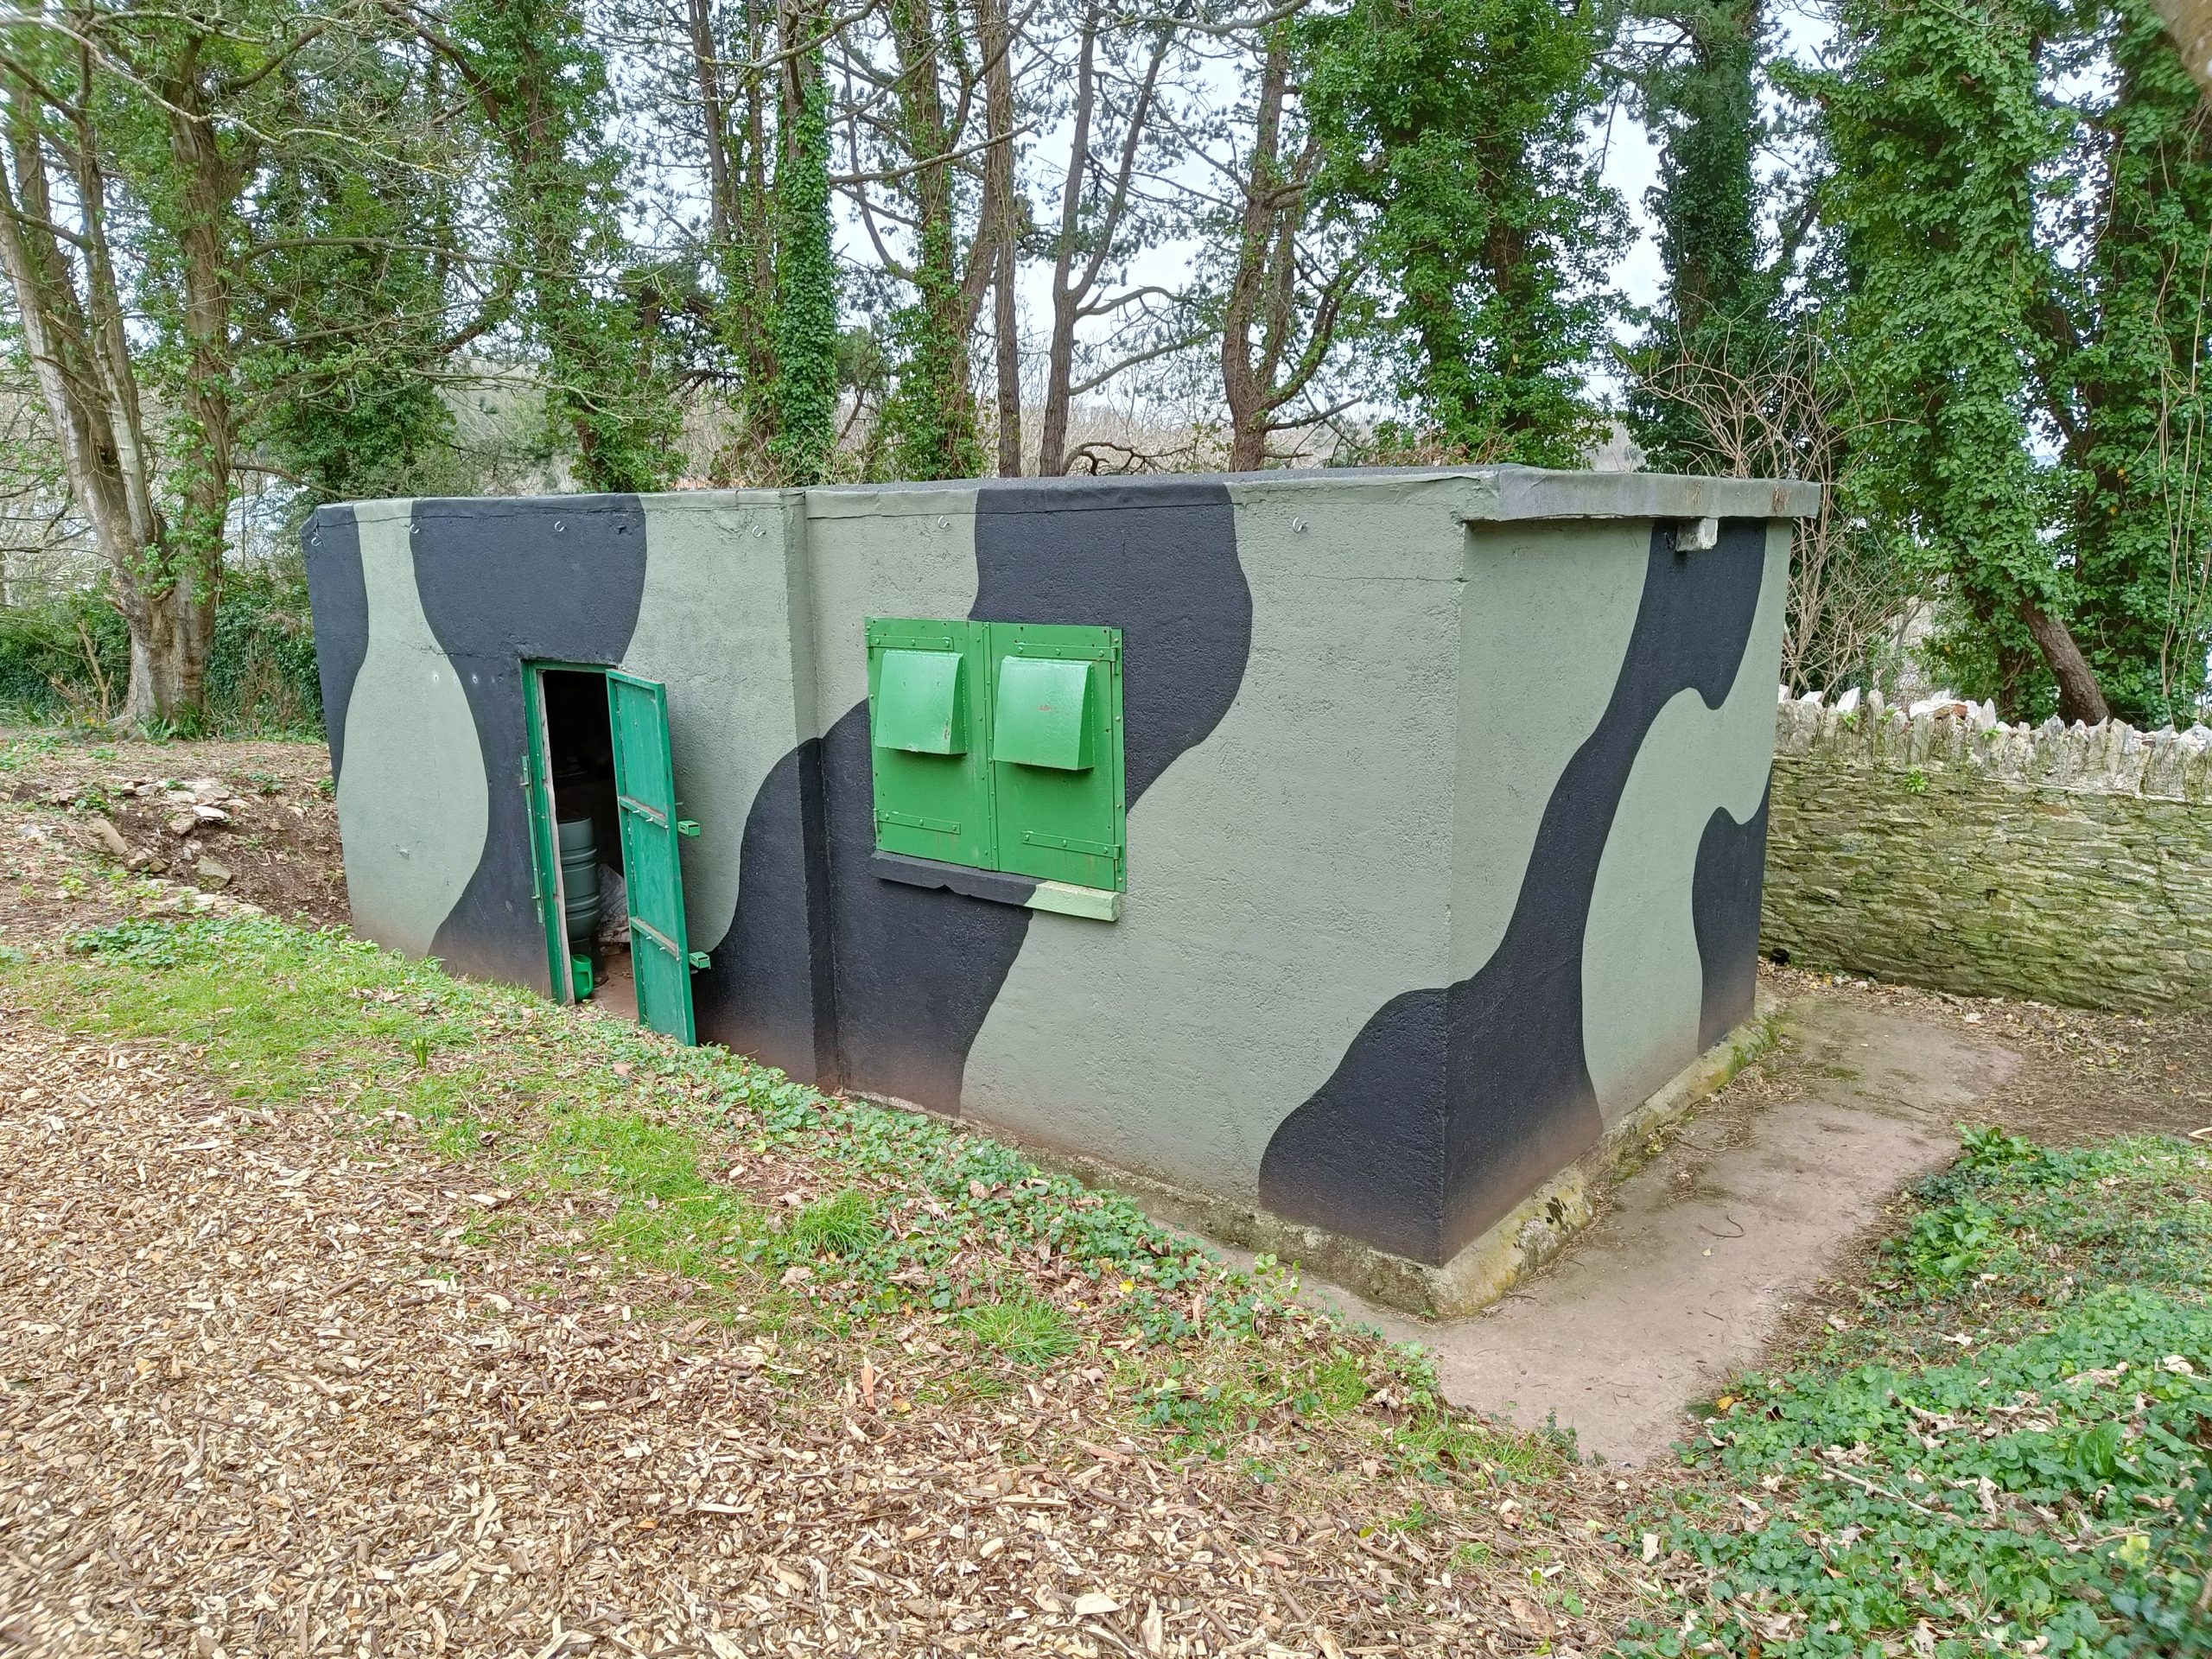
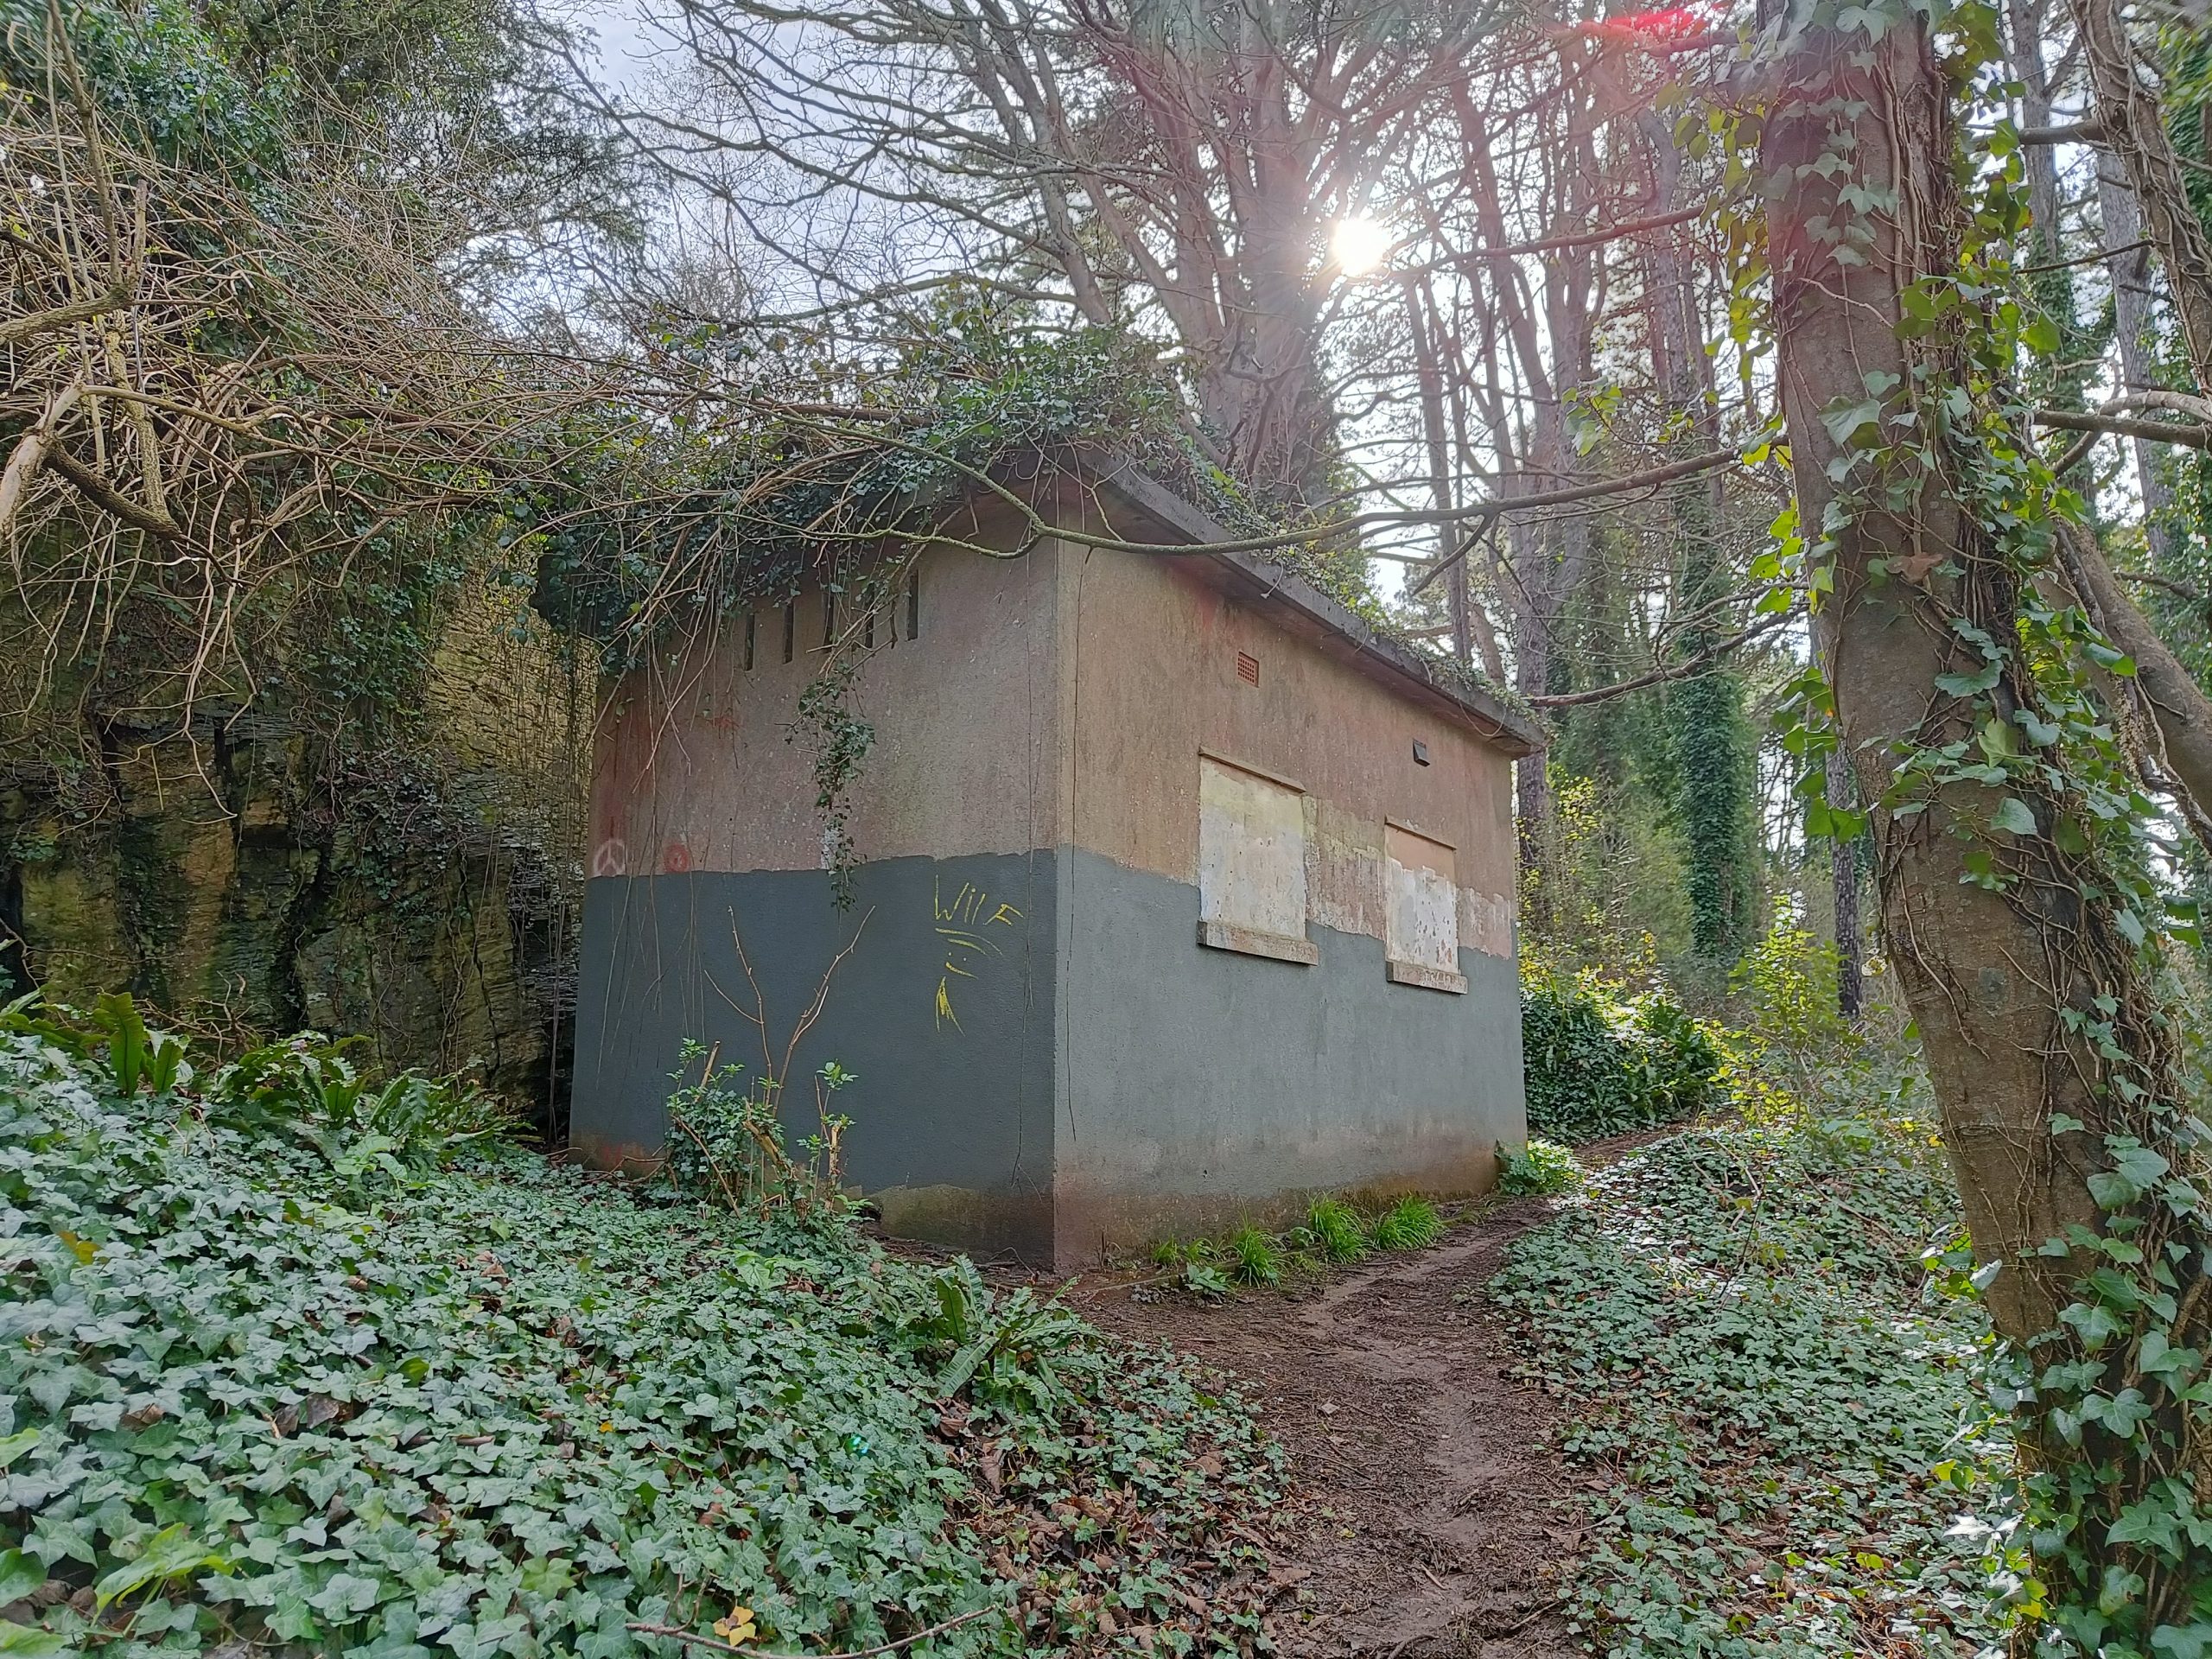
The Altmark
This construction, although it may seem insignificant to the passer by, is just as important as any other building on the complex. It was built before the war as a shelter for the locals to sit and enjoy the view. There were a few of these shelters around Brixham, all of the same design. It is located about 20 yards down from the main Battery Observation Post.
During the war years when the Royal Artillery occupied the site it was boarded up and used as a guard house and a store for small arms and spare parts. It was named by one of the compliment of the Battery as the “Altmark” and it is thought that it was about the time that the British destroyer Cossack rescued 299 British merchant seamen from the German ship “Altmark” on February 16th 1940 in the Norwegian Jossing Fjord. The Altmark was the supply ship to the Graff Spee. The name given to this construction as the “Altmark” is recognised today in the Public Records Office and our Local Council.
37mm Anti Aircraft Gun Position
Located directly below the Emergency B.O.P is a 37mm Anti Aircraft Gun emplacement. Although the position of the emplacement was known to veterans of the site and there was armament of some type there during the war years, the exact kind of weapon was not known. Recent investigations and references in the Public Records Office revealed that the weapon was a 37mm Anti Aircraft Gun. However, the type of gun was not stated, but according one expert it is likely to have been a 1lb “Pom Pom”.
This gun position was probably sited to serve two purposes. One as anti-aircraft defence and alternatively, being in an ideal position, a backup for the 6lb Hotchkiss Harbour Defence Gun, located further down the site. Although there was no coverage to the rear of the position against aircraft attack, it was sited admirably against low flying hit and run raiders which flew past its position attacking the shipping and harbour installations. The Bofors AA gun and Rocket Projector on site would be useless on these occasions as they would be firing down on their targets and possibly endangering ships and installations. These guns would engage targets flying higher altitudes.
Diesel Generator Rooms
There were two of these buildings on site – the first one to be seen is located to the left of the archway which is reached by taking the left hand path at the bottom of the main path from the Battery Observation Post. The other building can be seen to the right after passing through the archway.
There were two Lister Diesel engines housed in each building, driving generators which produced electrical power for No.1 and No.2 Search Light Positions and also as an emergency supply for the Battery complex. Normal electricity supply came from the Brixham Electricity Company.
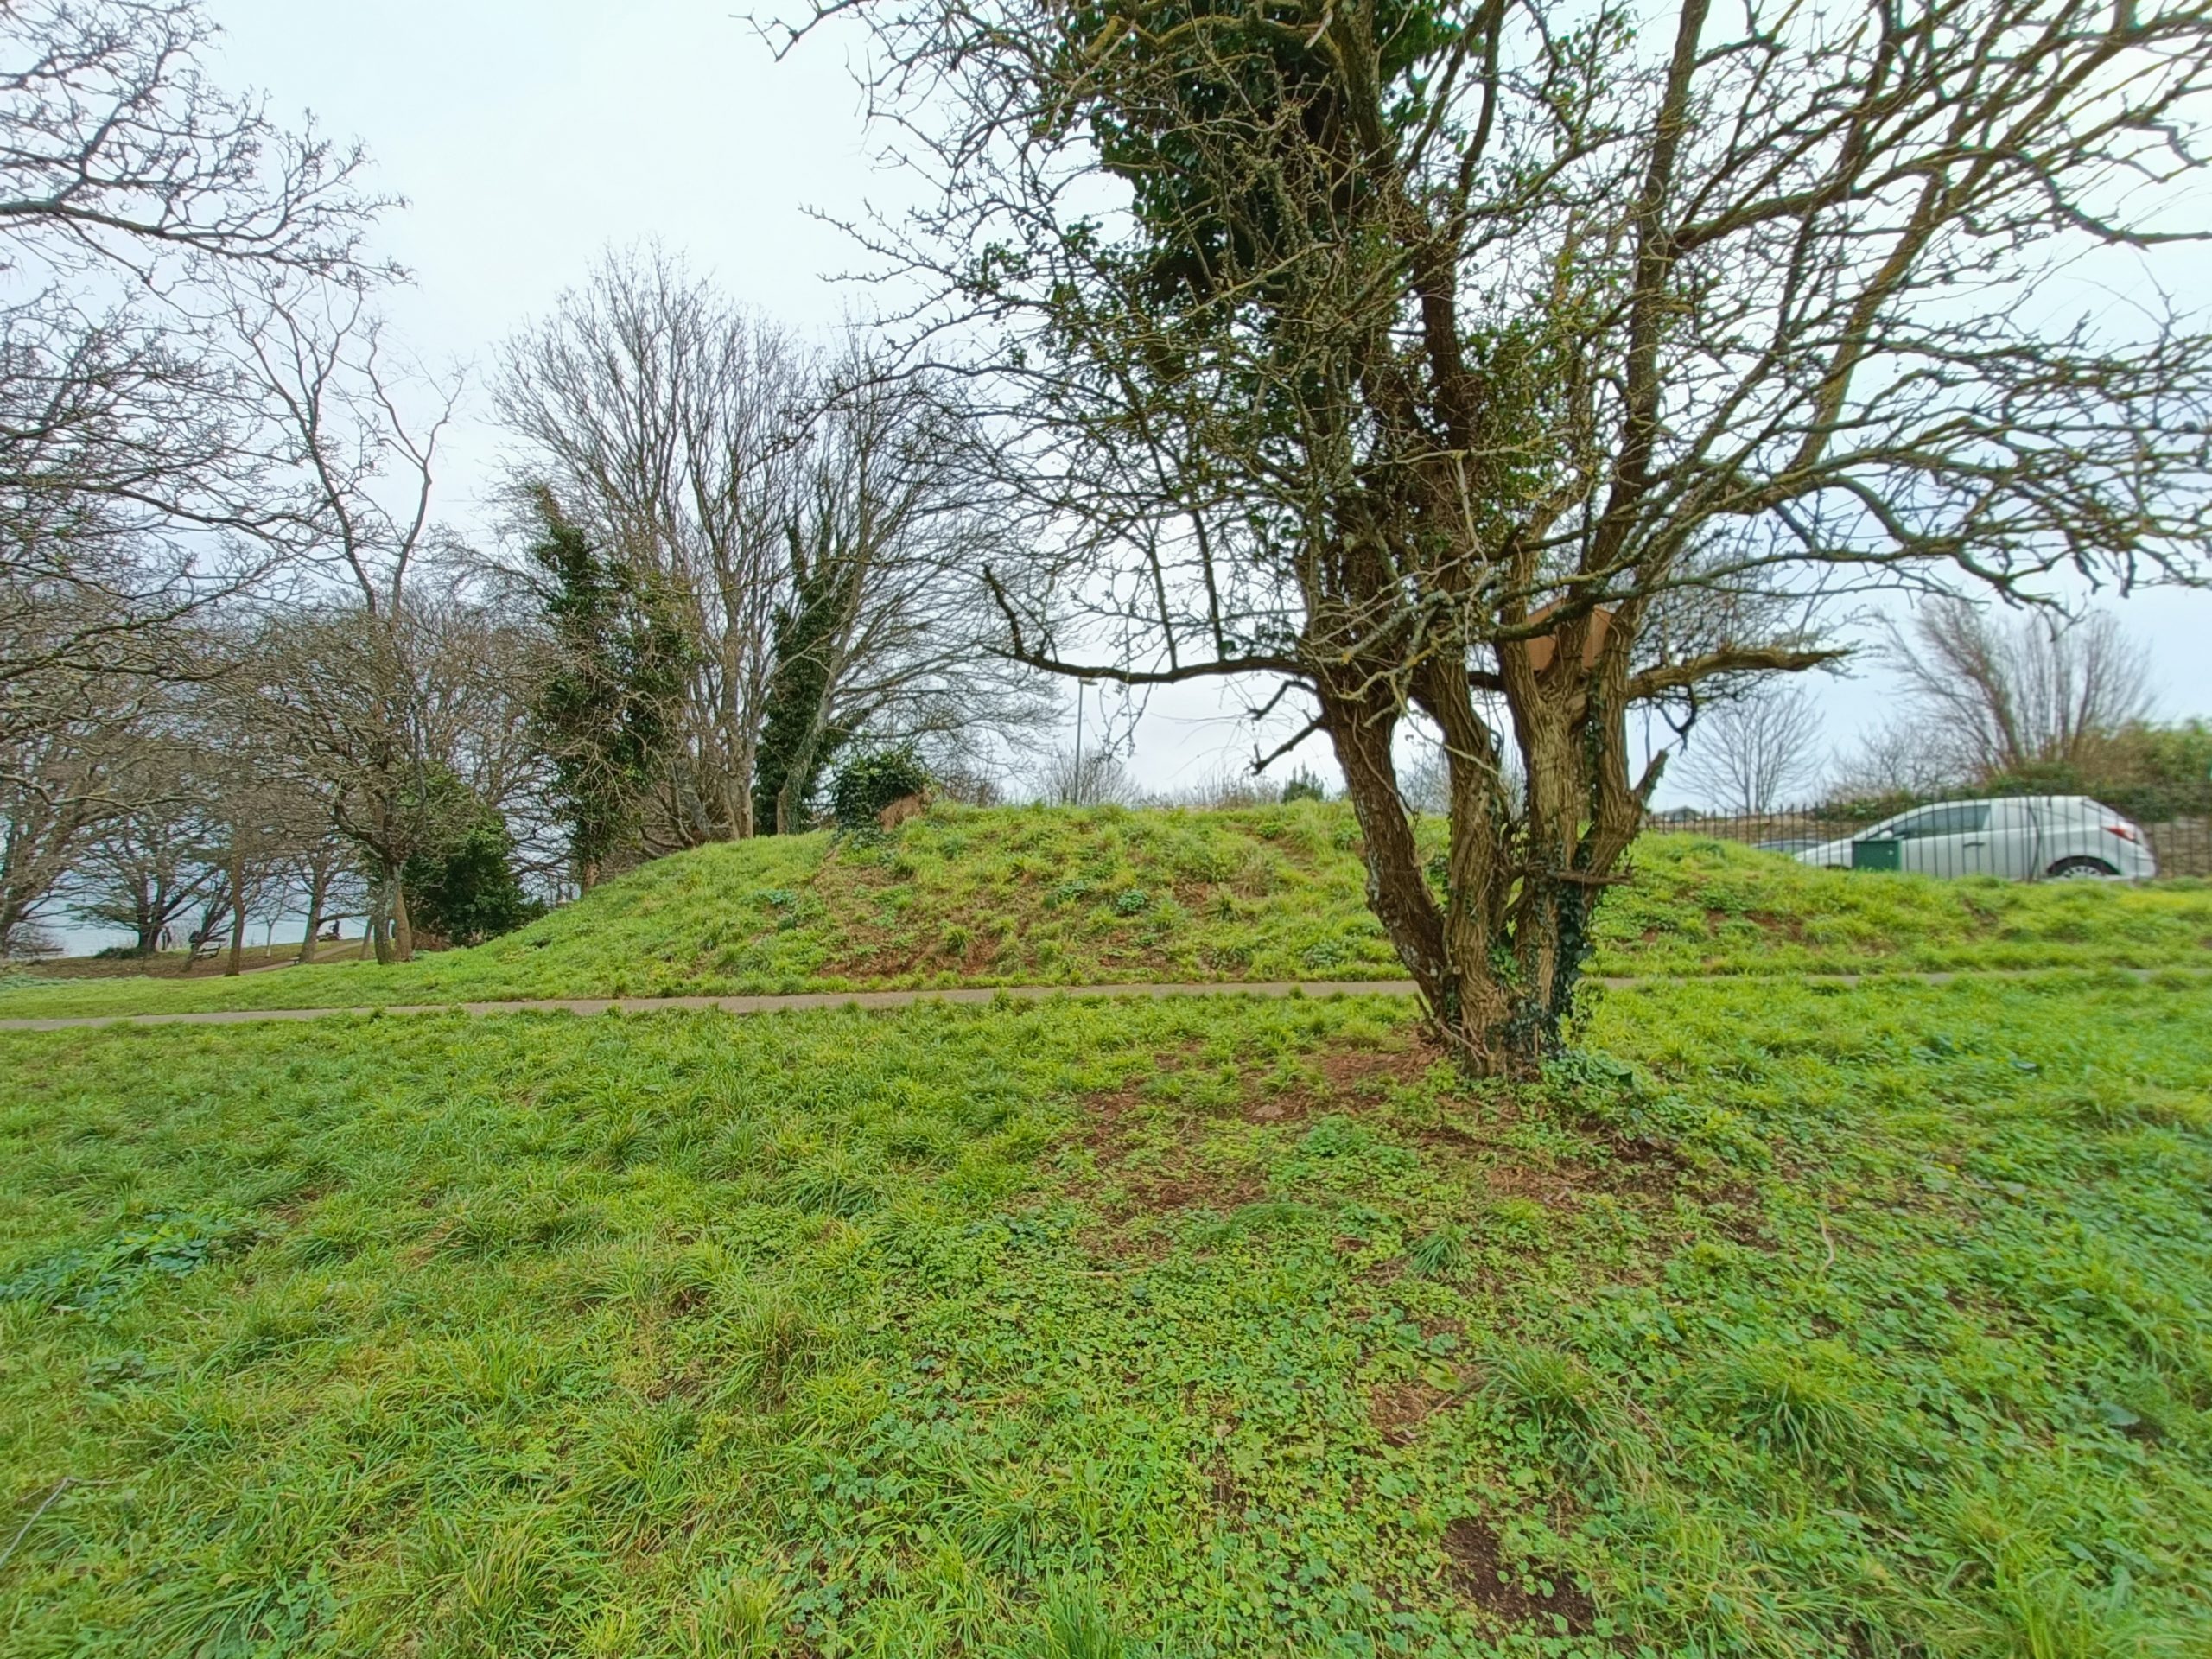
Emergency Water Supply (EWS)
This can be found at the southern-most part of the Battery on entering the grounds at the top of Fishcombe Road. The reserve water supply tank cannot be mistaken as it takes the form of an oblong grassy mound just to the right hand side. The capacity of this tank is 25,000 gallons and in the past it has been used by the ICI Company in Freshwater Quarry and at present is used by the Zeneca Marine Biological Laboratory at the same location. During the war it was a stand by water supply which could be used also for fighting fires if necessary.
No.1 and No.2 Search Lights
The searchlights were located on the lowest part of the complex so as to command as wide a sweep of the bay as possible. The searchlights were powered by the generator rooms and remotely controlled from the Battery Observation Post.
These powerful lights capable of producing some 200 million candle power were approximately 3 feet (90cm) in diameter, using 3 parabolic mirrors.
The light source was a pair of carbon rods positioned in front of the mirrors which were subjected to a high electrical current being passed through them. When the current was switched on, an arc was struck and the rods were slowly drawn apart to a set gap, which drew a brilliant electrical flame. As the carbon burnt away, the gap was adjusted manually to keep the gap set at the required distance sufficient to keep the light burning.
The crew of these lights consisted of two lamp attendants. Their height above seal level was 50 feet (No.1) and 40 feet (No.2). The resulting intensely bright light reflected by the large mirrors was capable of illuminating targets up to 3000 yards in normal weather and up to 7000 yards in exceptionally good weather conditions.
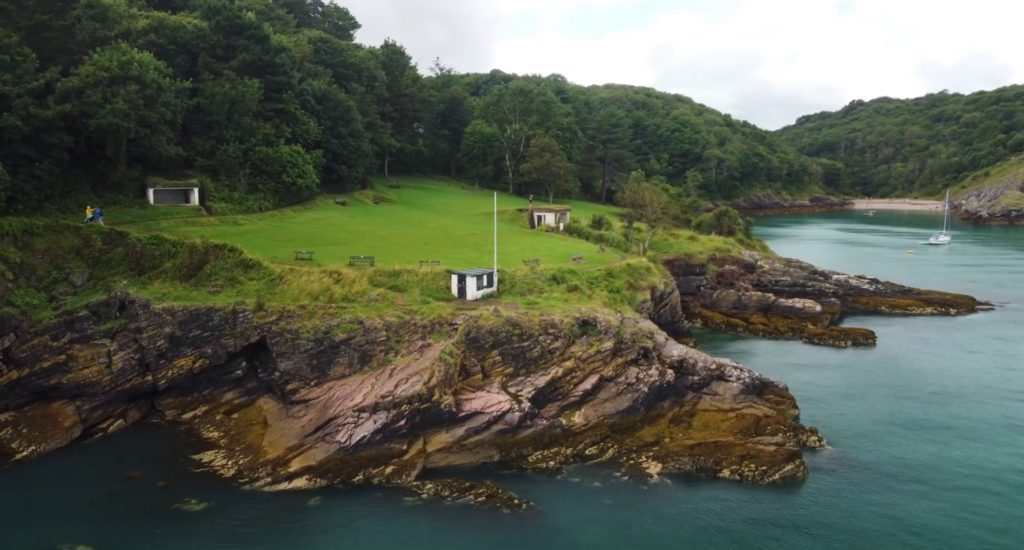
(Footage by CutLeaf Productions -click photo to watch video on Facebook)
Rifle Positions
Before turning left at the bottom of the main path from the Battery Observation Post, looking straight ahead is the remains of one of the various Rifle Positions on the site. This particular one was designed to cover the sea shore at the bottom of the site. During the war there were no trees on the slopes down to the shore line which gave an unobstructed field of fire against intending enemy landing forces.
Another Rifle Position is located at the lower western corner of the site, half way down Fishcombe Road. As well as rifles, these posts were ideal for the Bren Machine Gun.
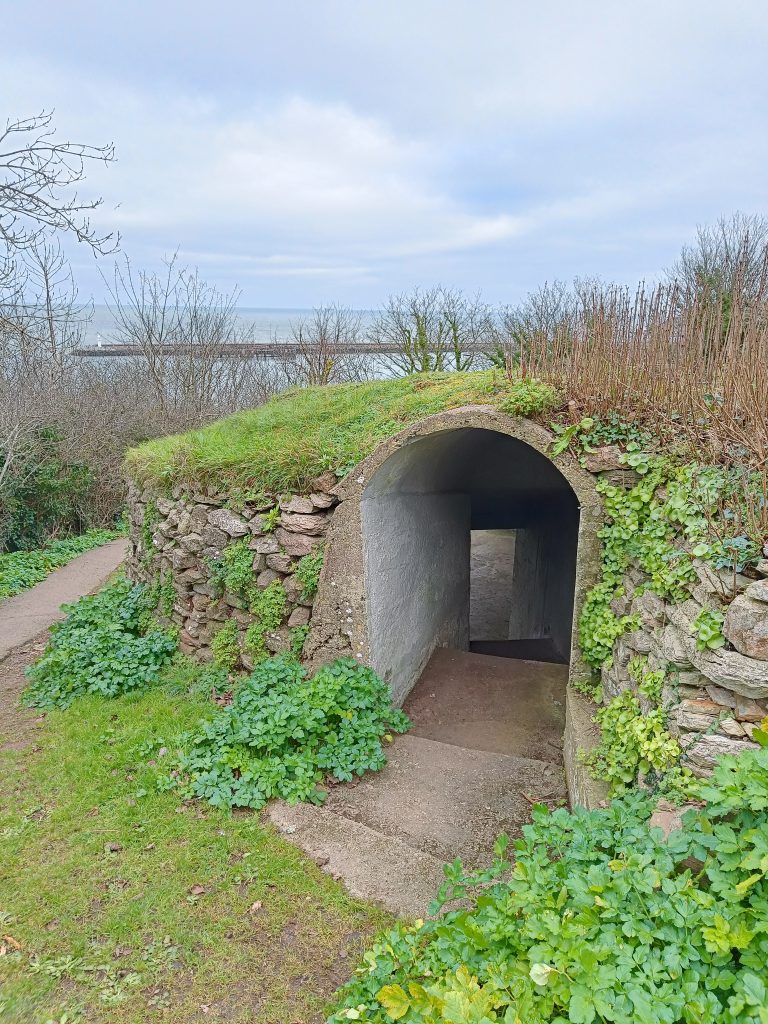
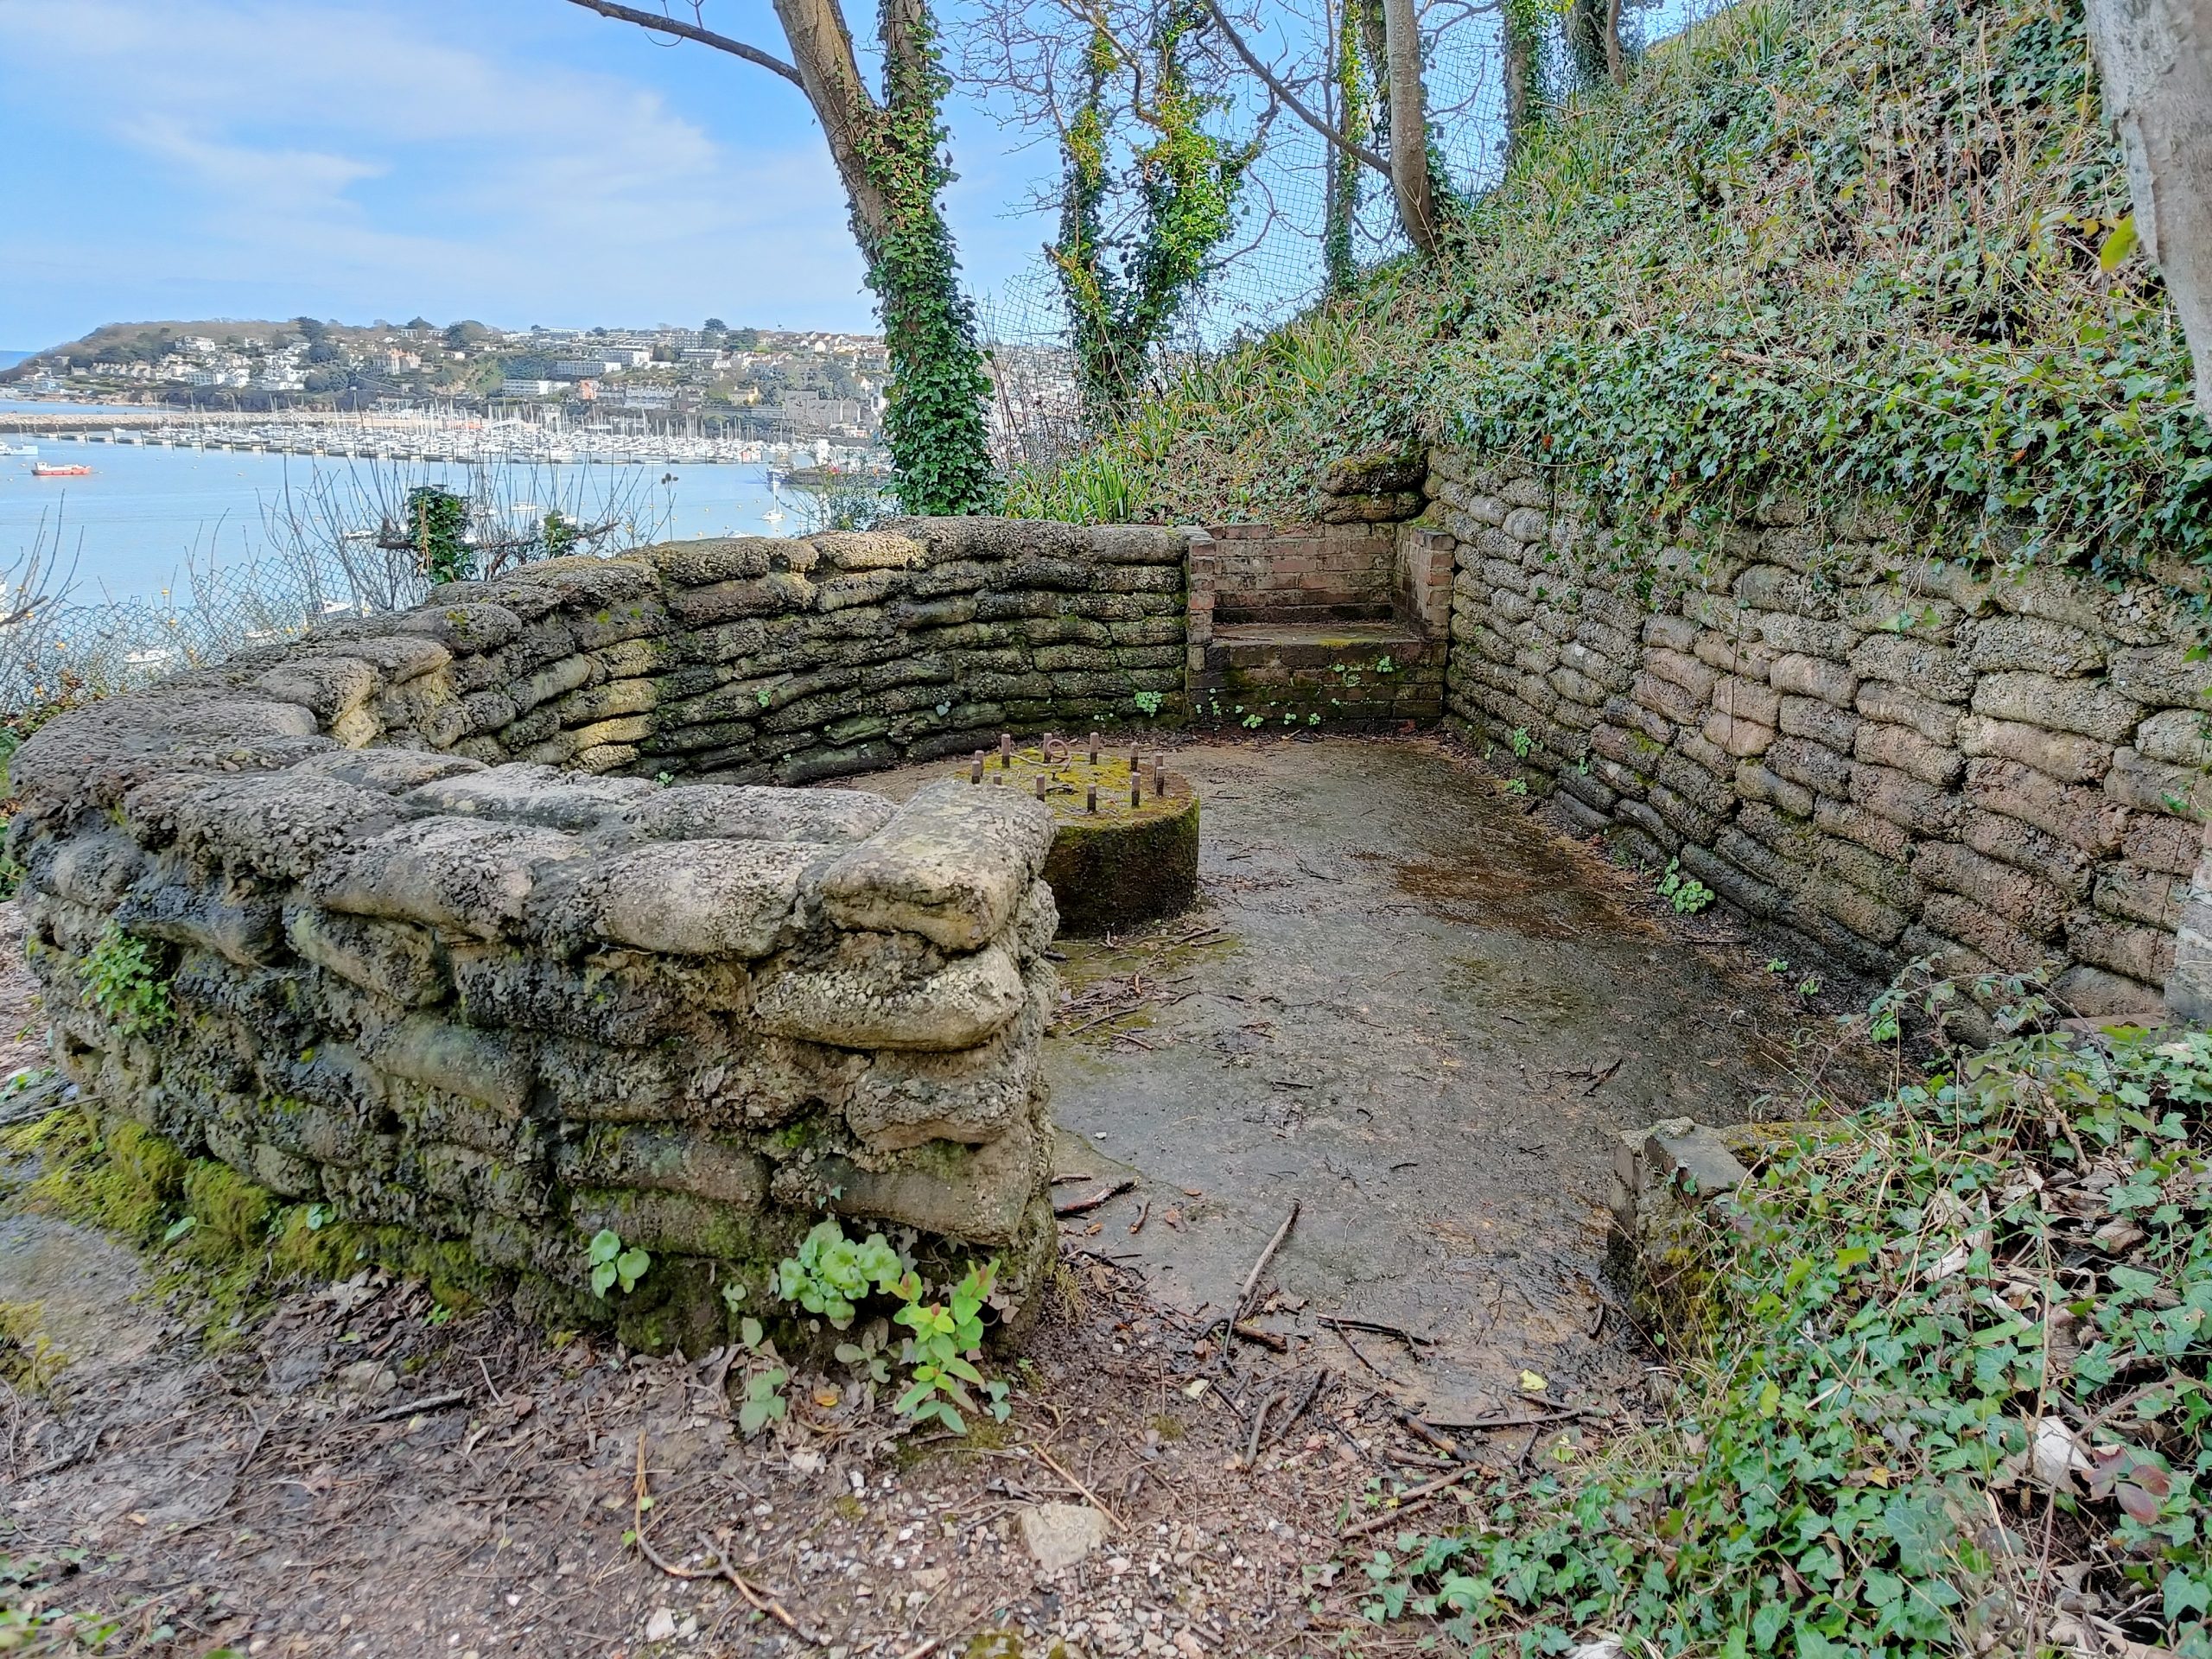
Pillbox
In the bottom corner of the site we find a concrete pillbox overlooking Brixham harbour. If you approach Battery Gardens along the SW Coast Path from the harbour, you can see the pillbox to your left.
The pillbox has thick concrete walls and a heavy concrete roof. Access is via a brick-lined corridor to the rear. During the war, the absence of trees would have allowed for a commanding view of the harbour whilst offering protection from the hillside behind.